ROLLBOUND Devlog #2
ROLLBOUND is a web-based physics game where you guide your ball through complex courses, avoid obstacles, collect gems, and try to reach the goal as quickly as possible. In this second technical devlog I'll share the development of some more the game's core features.

ROLLBOUND is a web-based physics game where you guide your ball through complex courses, avoid obstacles, collect gems, and try to reach the goal as quickly as possible. In this second technical devlog I'll share the development of some more the game's core features.
You can find the first devlog here: https://www.supertorio.dev/rollbound-devlog-1/
You can play the in development game here: https://mythicaai.github.io/rollbound/.
If you do, please let me know if you have any feedback!
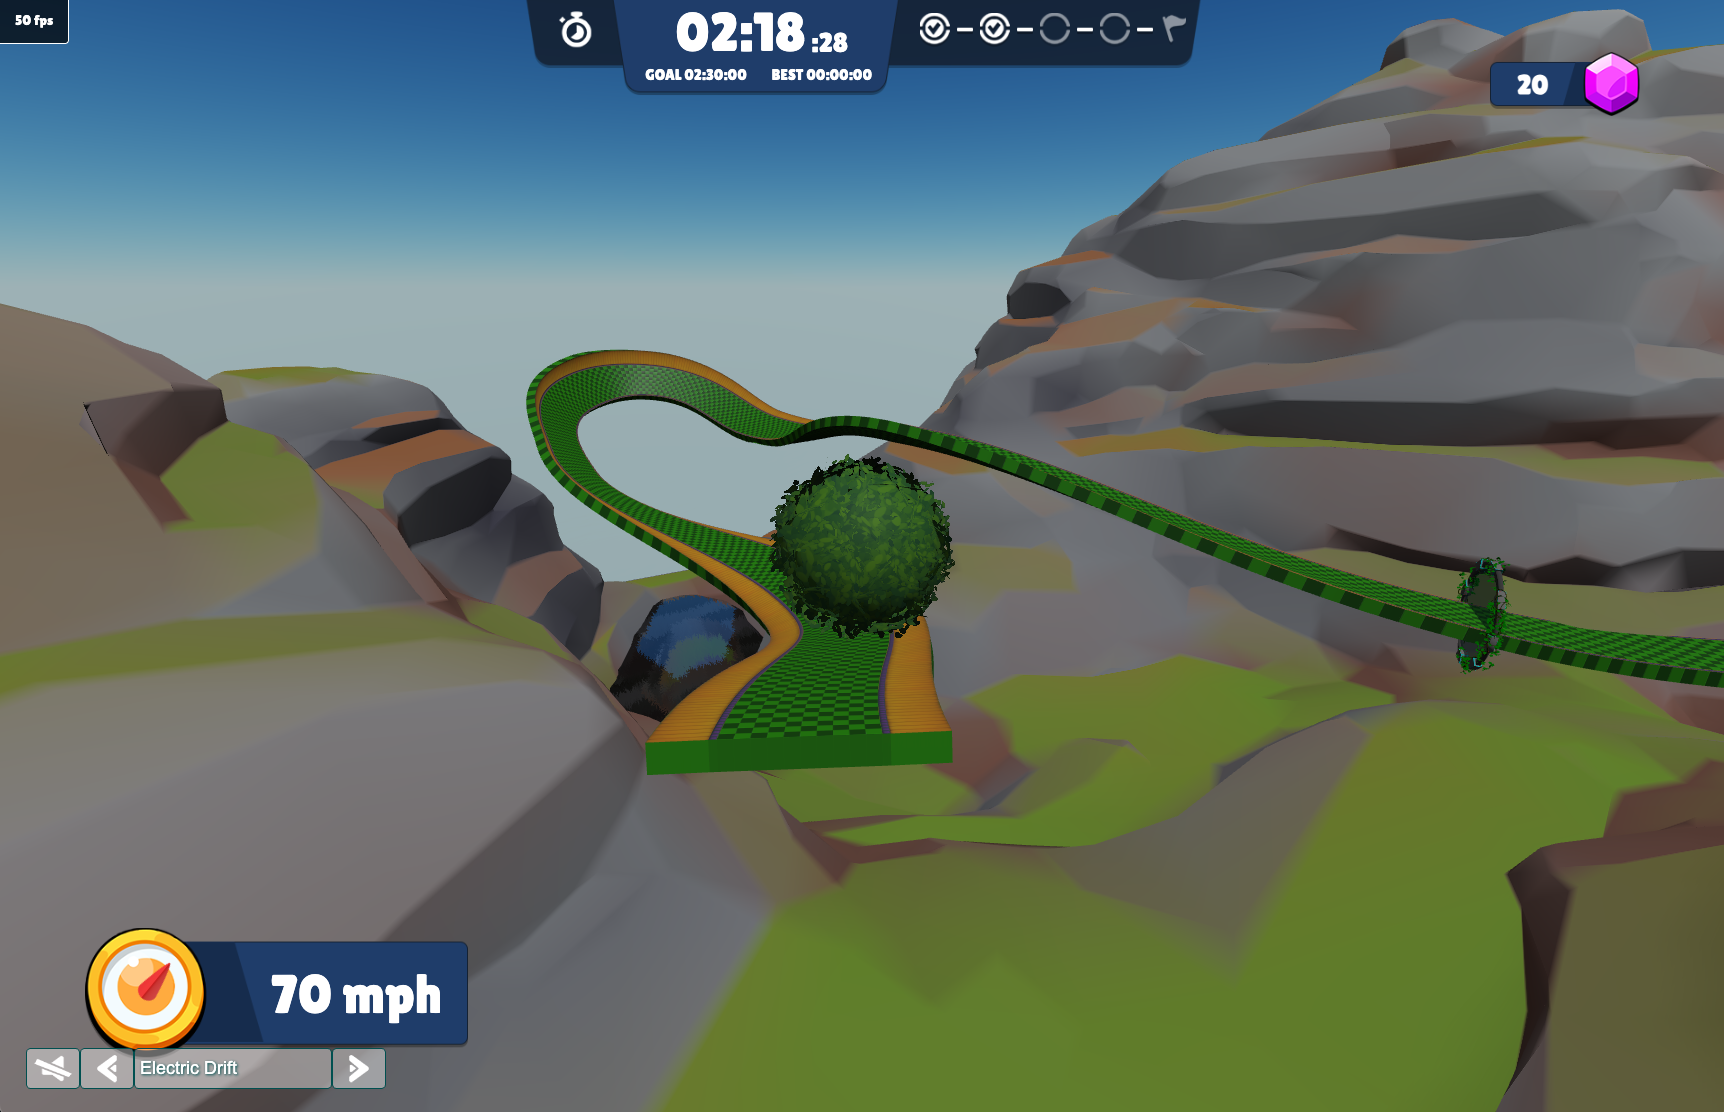
Game Mechanic - Progress Gates and a Goal
Now that we have a rolling ball and track, lets give the player a place to goal and a way to track progress.
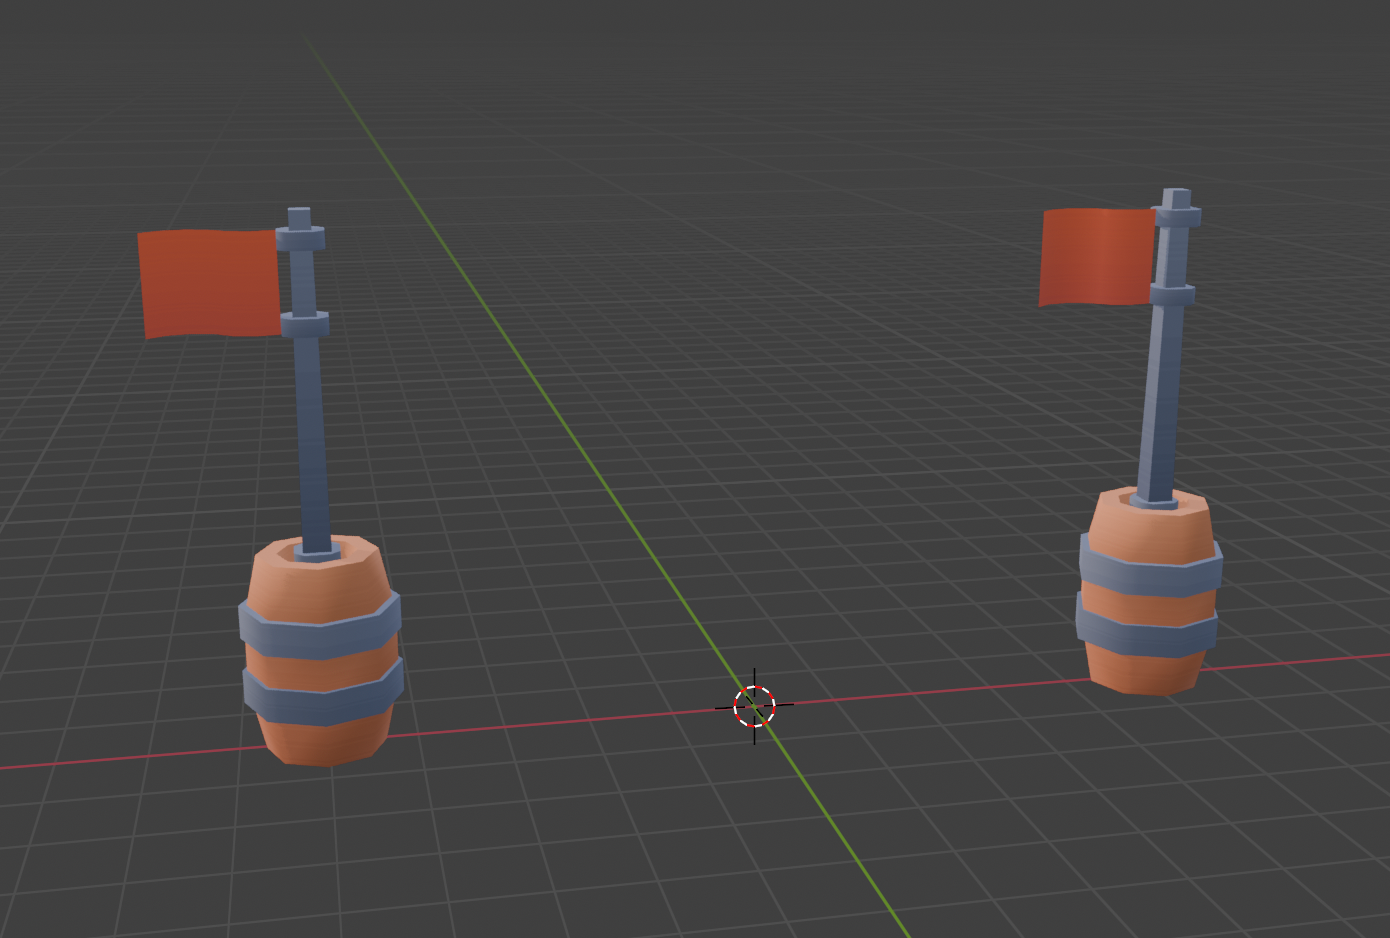
First up we needed a goal at the end. I used a couple more assets from the Kenney Platformer Asset Kit to assemble a simple goal from barrels and flags. This artwork is temporary, but it allowed me to start fleshing out the modular level architecture.
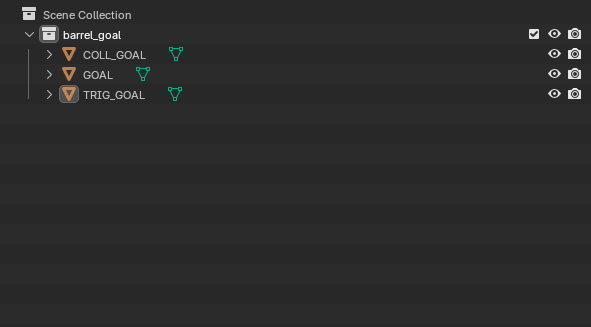
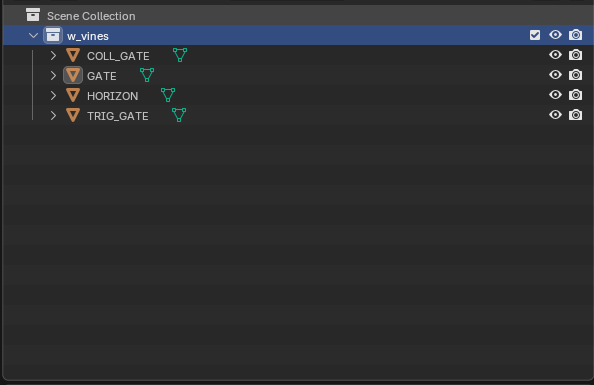
Blender Tag Based Design
To make integrating assets into the game as seamless as possible, we settled on using a tag based approach. In Blender, we tag the meshes and objects we export based on the usage. Since the object names are retained in the GLB export process, we are able to read them in the game code and identify the intended purpose of each piece.
For instance, the artist can indicate the volume collider for passing through the goal by naming a piece of geometry TRIG_***. The artist can also include simplified geometry for object collisions by giving the object a COLL_***.
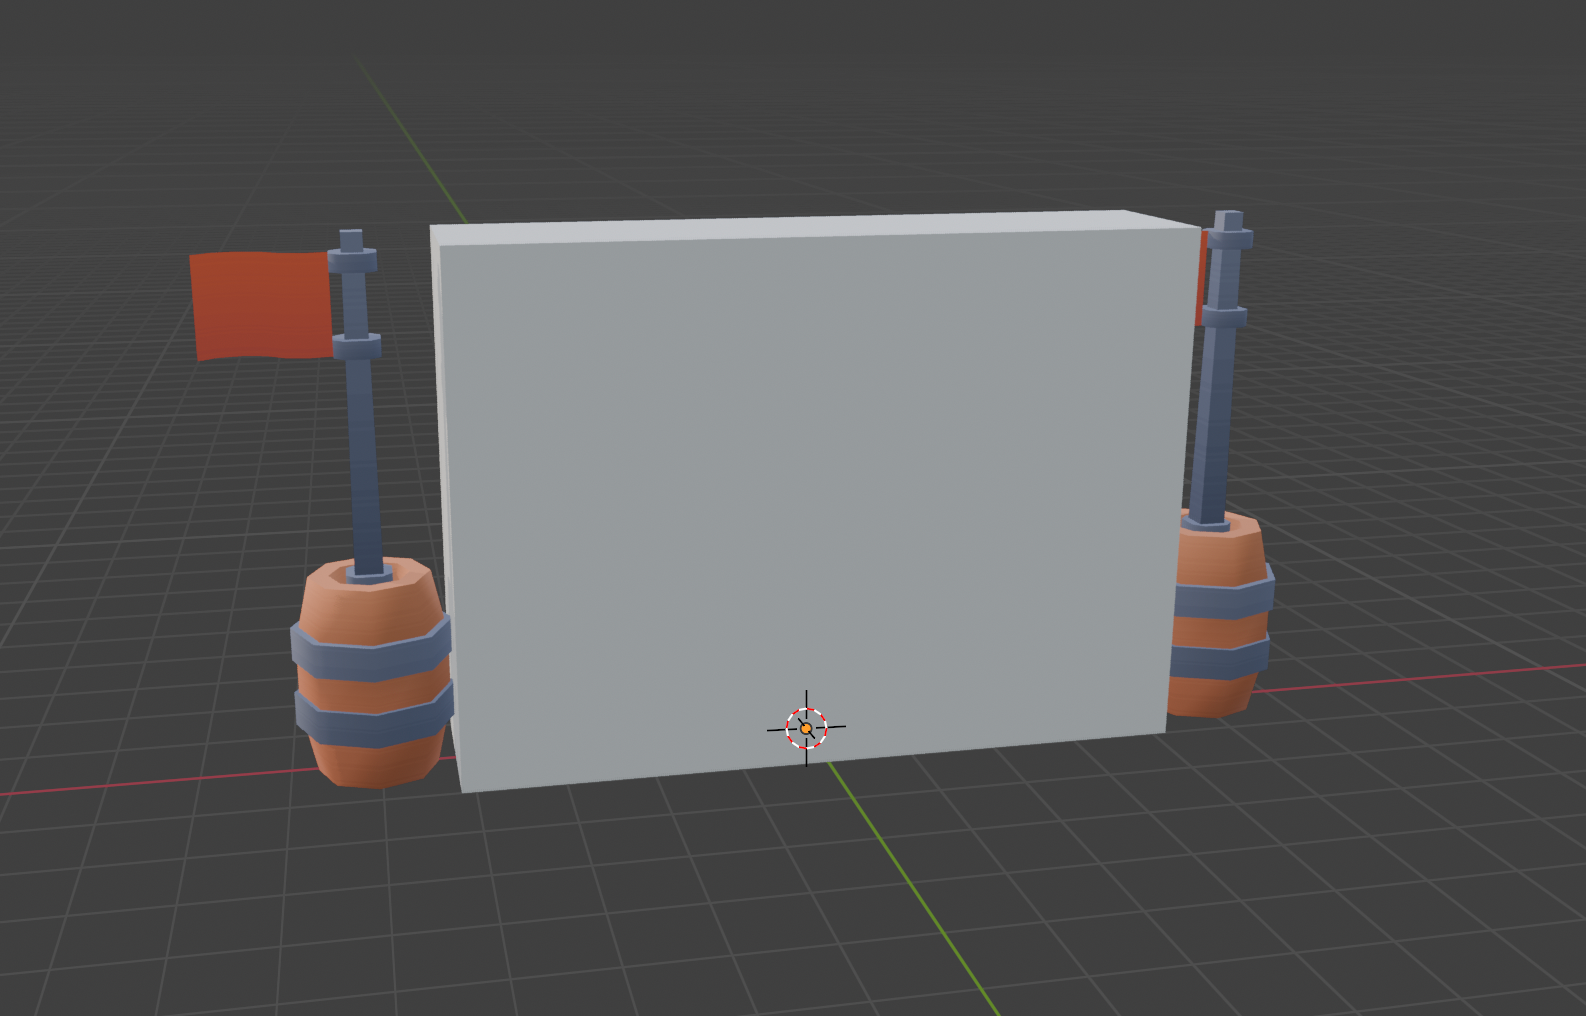
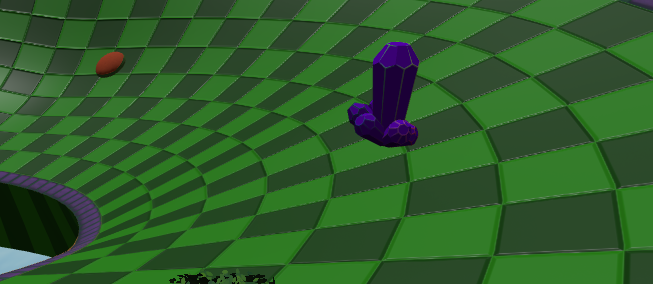
Goal Trigger volume and Simple Colliders
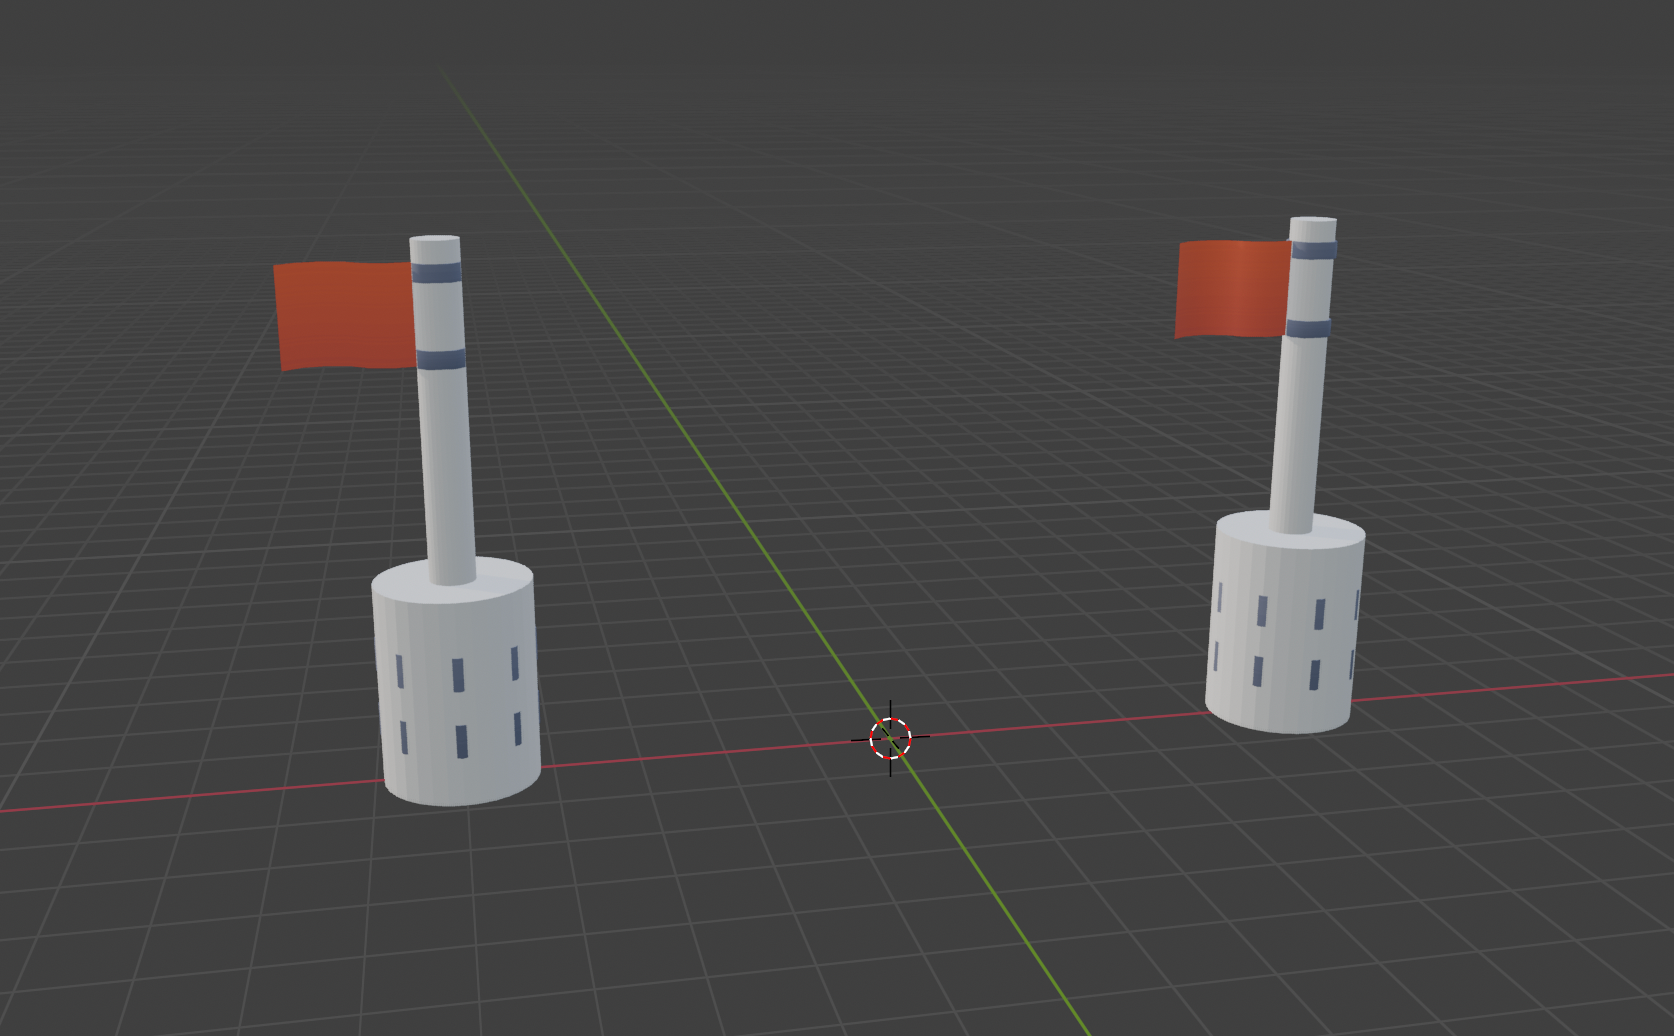
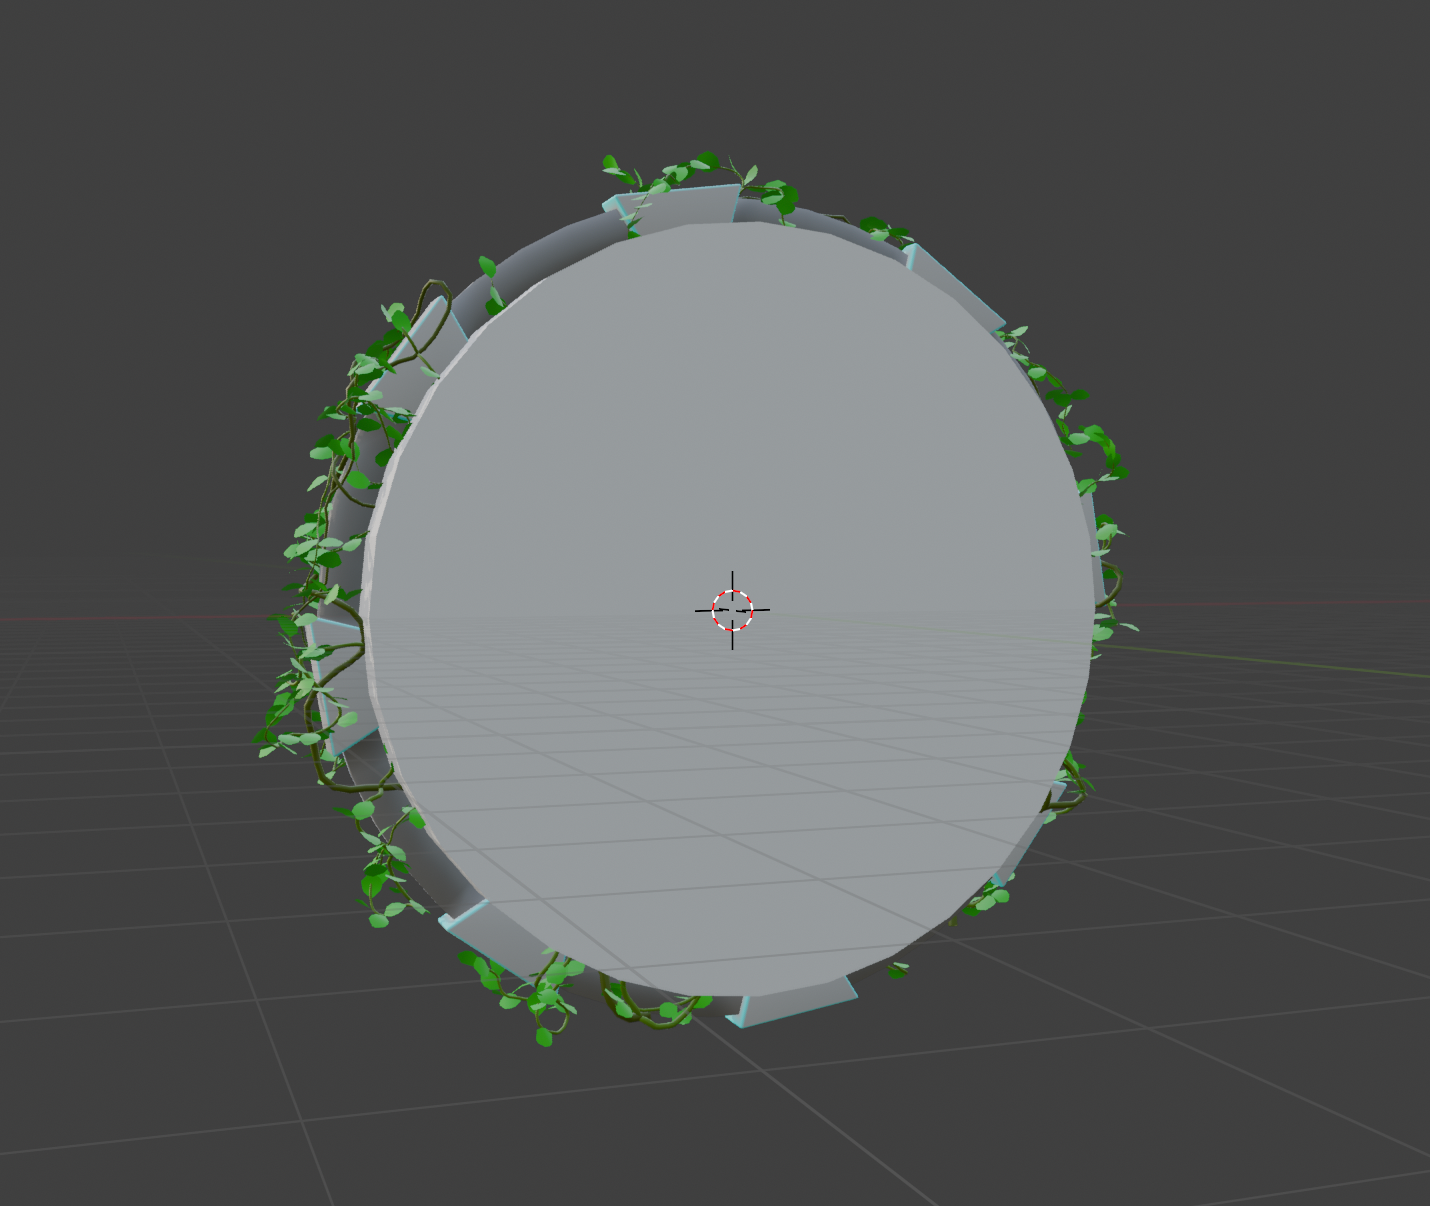
Progress Gates
I wanted a mechanism by which a player could pass restart points along the way. So if they fall off the track, they would restart at the most recent gate. For modelling these, I turned to Houdini. The gates were inspired by one of my favourite sci-fi series ever, and adorned with vines via Mythica's procedural ivy Houdini asset.
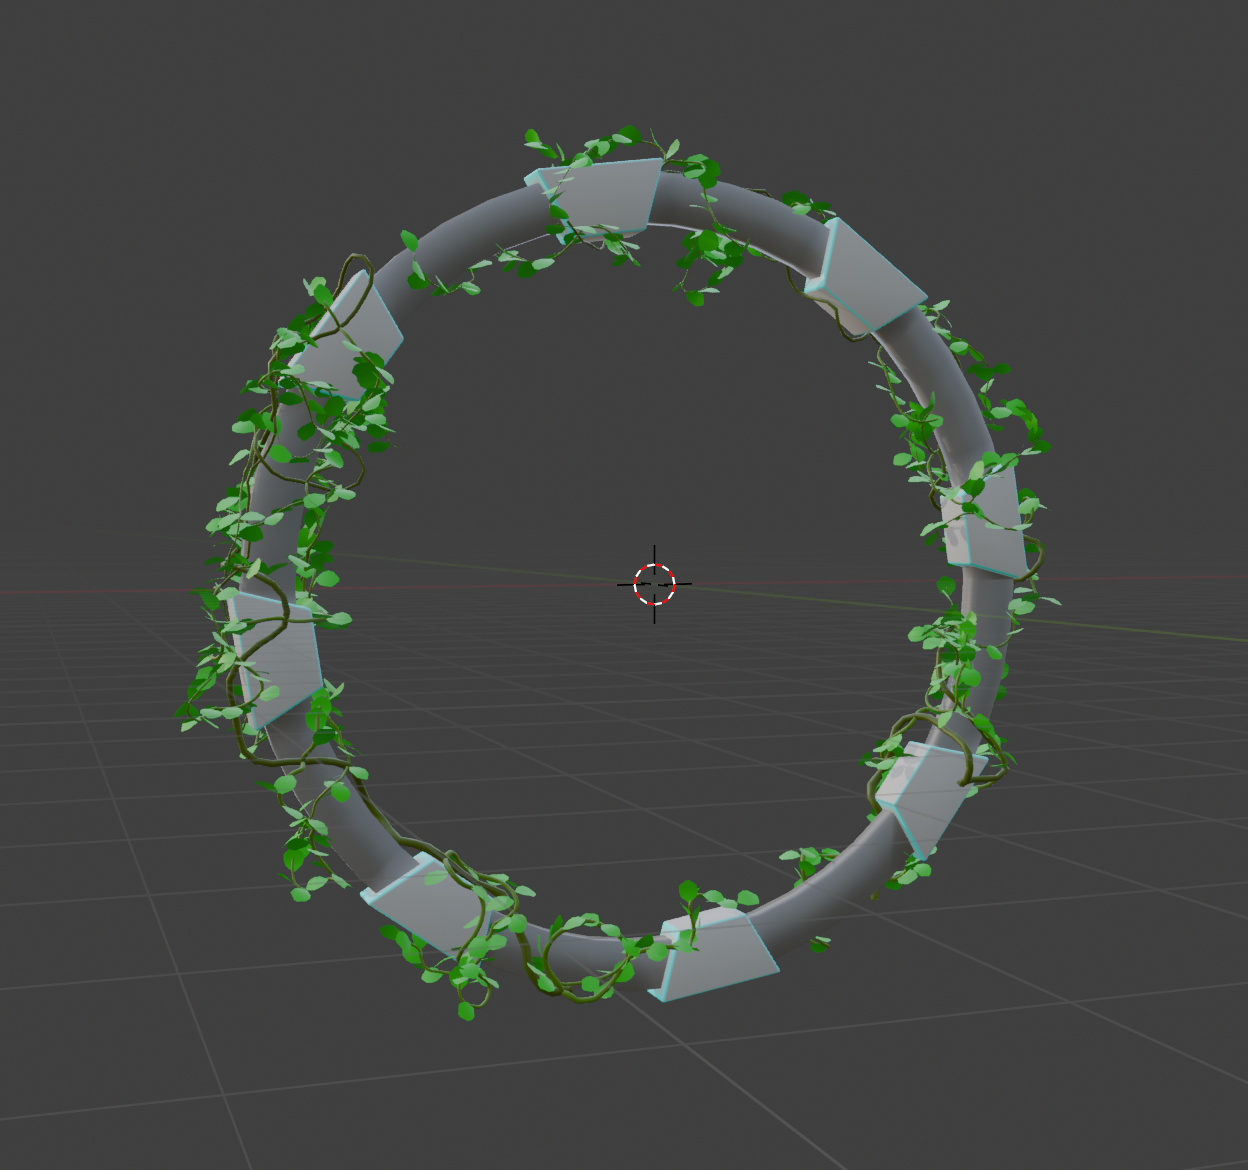
This asset also got a simplified collider for the frame as well as a collision volume.
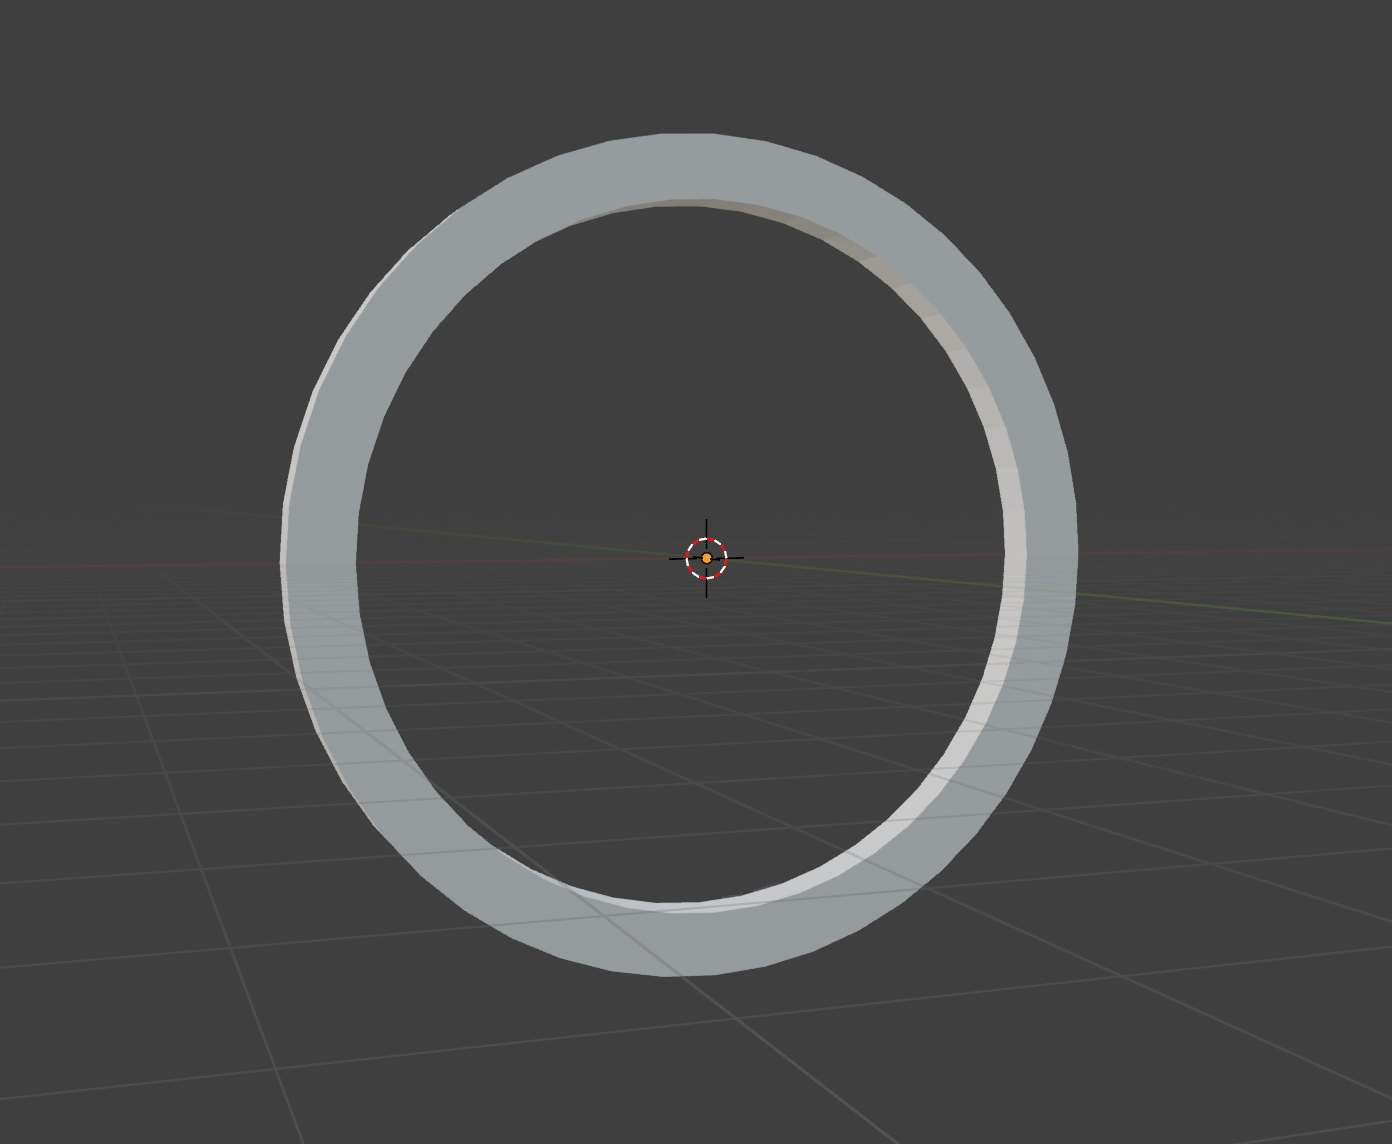
Lesson Learned - When creating collision volumes for a potentially fast moving object, it's important to give the volume ample thickness. If the ball is traveling at a high rate of speed, it's possible that it would pass through a thinner volume between frame ticks and thus that intersection would never be triggered.
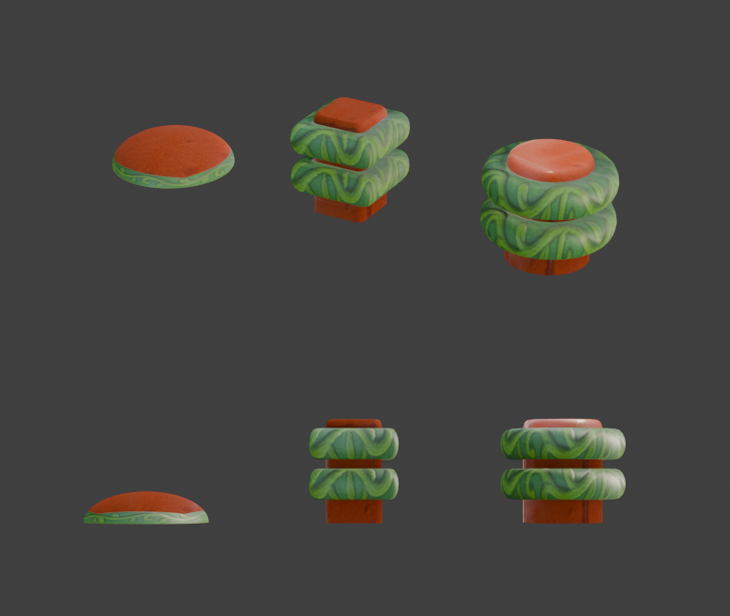
Collectables and Bumpers
In Rollbound you'll also find along the track collectable gems and bumper obstacles.
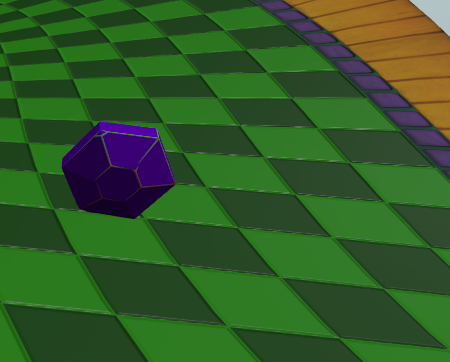
Crystal Pickups
The crystals were created using my Houdini procedural crystal tools. These digital assets are free and open source, and you can grab them here: https://github.com/supertorio/Procedural-Crystals
They also use simple mesh colliders to keep things performant.

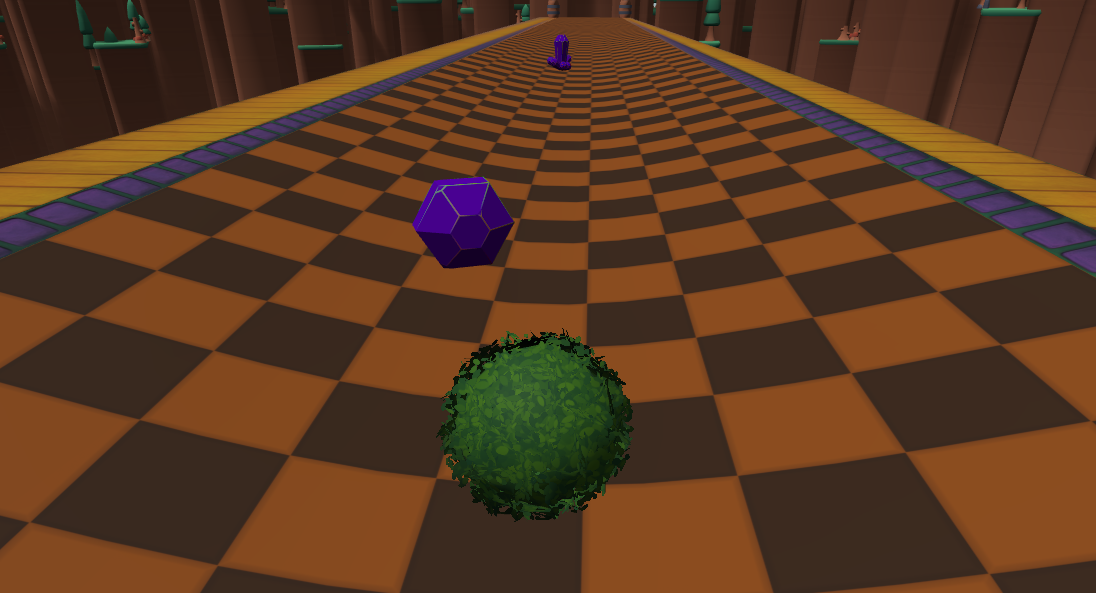
Bumpers
There are three different variety of bumpers in the game so far. Again, these use simplified colliders. The physics for each of these has a higher restitution value, so they can feel quite bouncy when you hit them. The hill shaped bumper in particular can really send you flying.
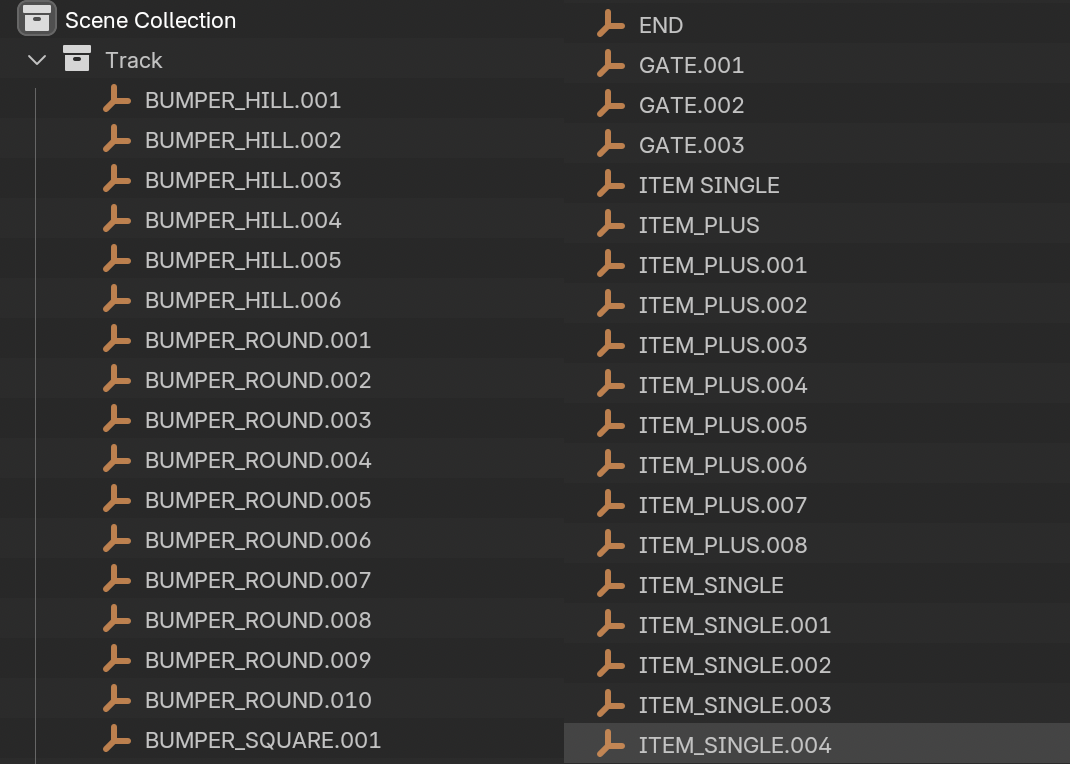
Track Item Placement
So how does a course designer place all these things like gems, bumpers, gates, and even the start and finish, on the course. This is done pretty simply via named empties in Blender. And thankfully because the glb/gltf file format allows for empty transforms to be included in the file, this makes it very easy to use them in the game code.
In addition to the empty's position, the rotation and scale of the transform is used. for instance, the gate can be scaled to make sure it it's around the track span.
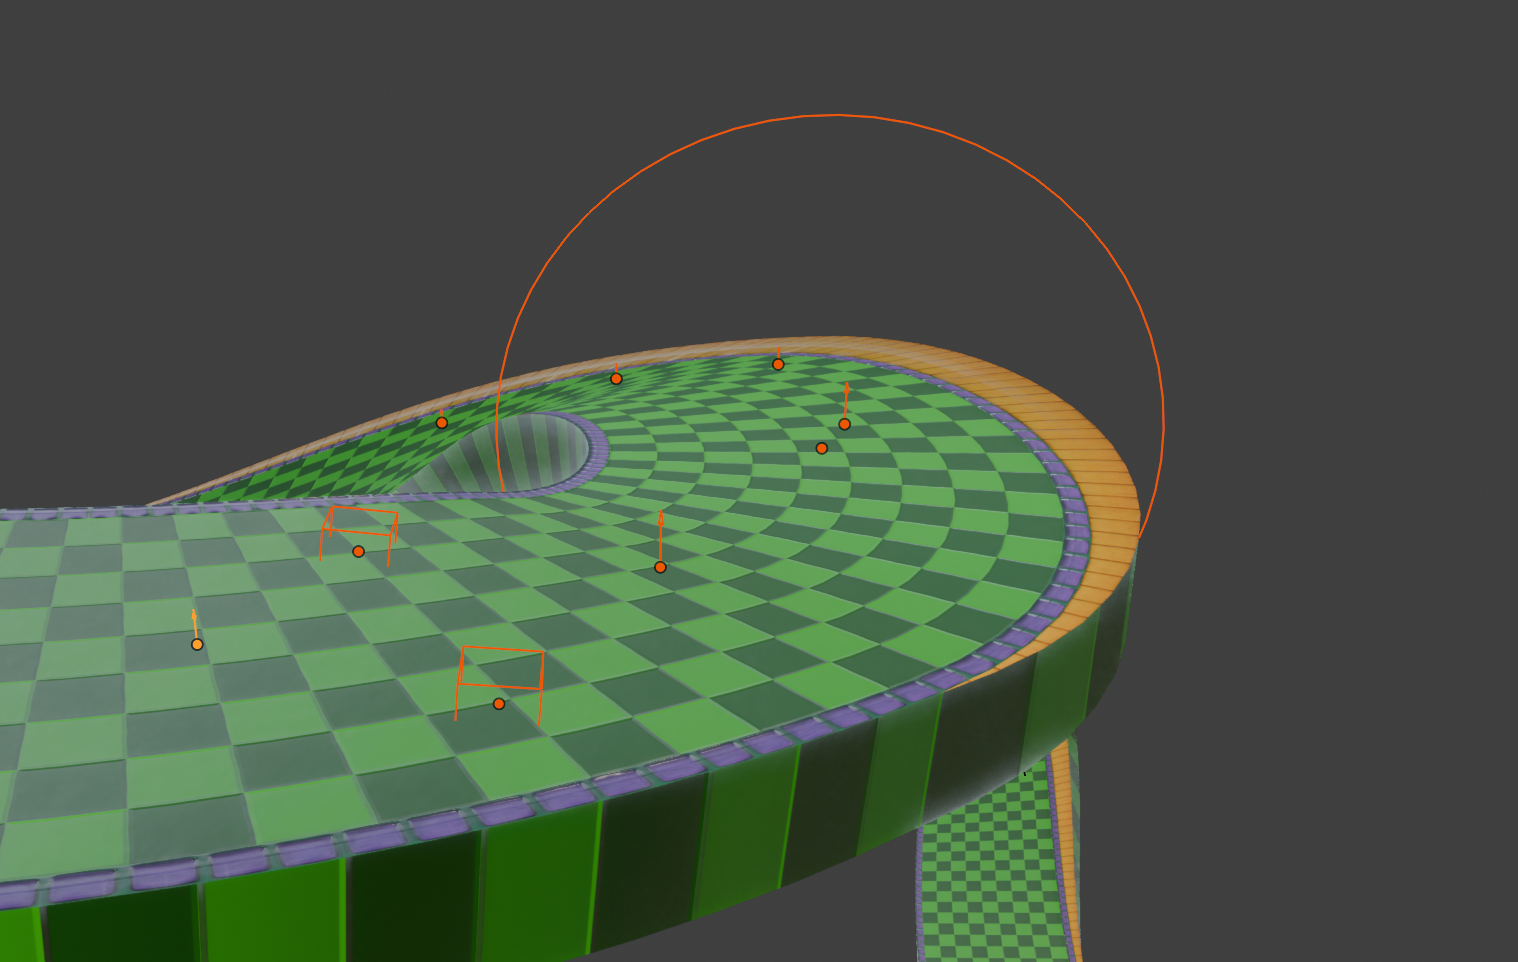
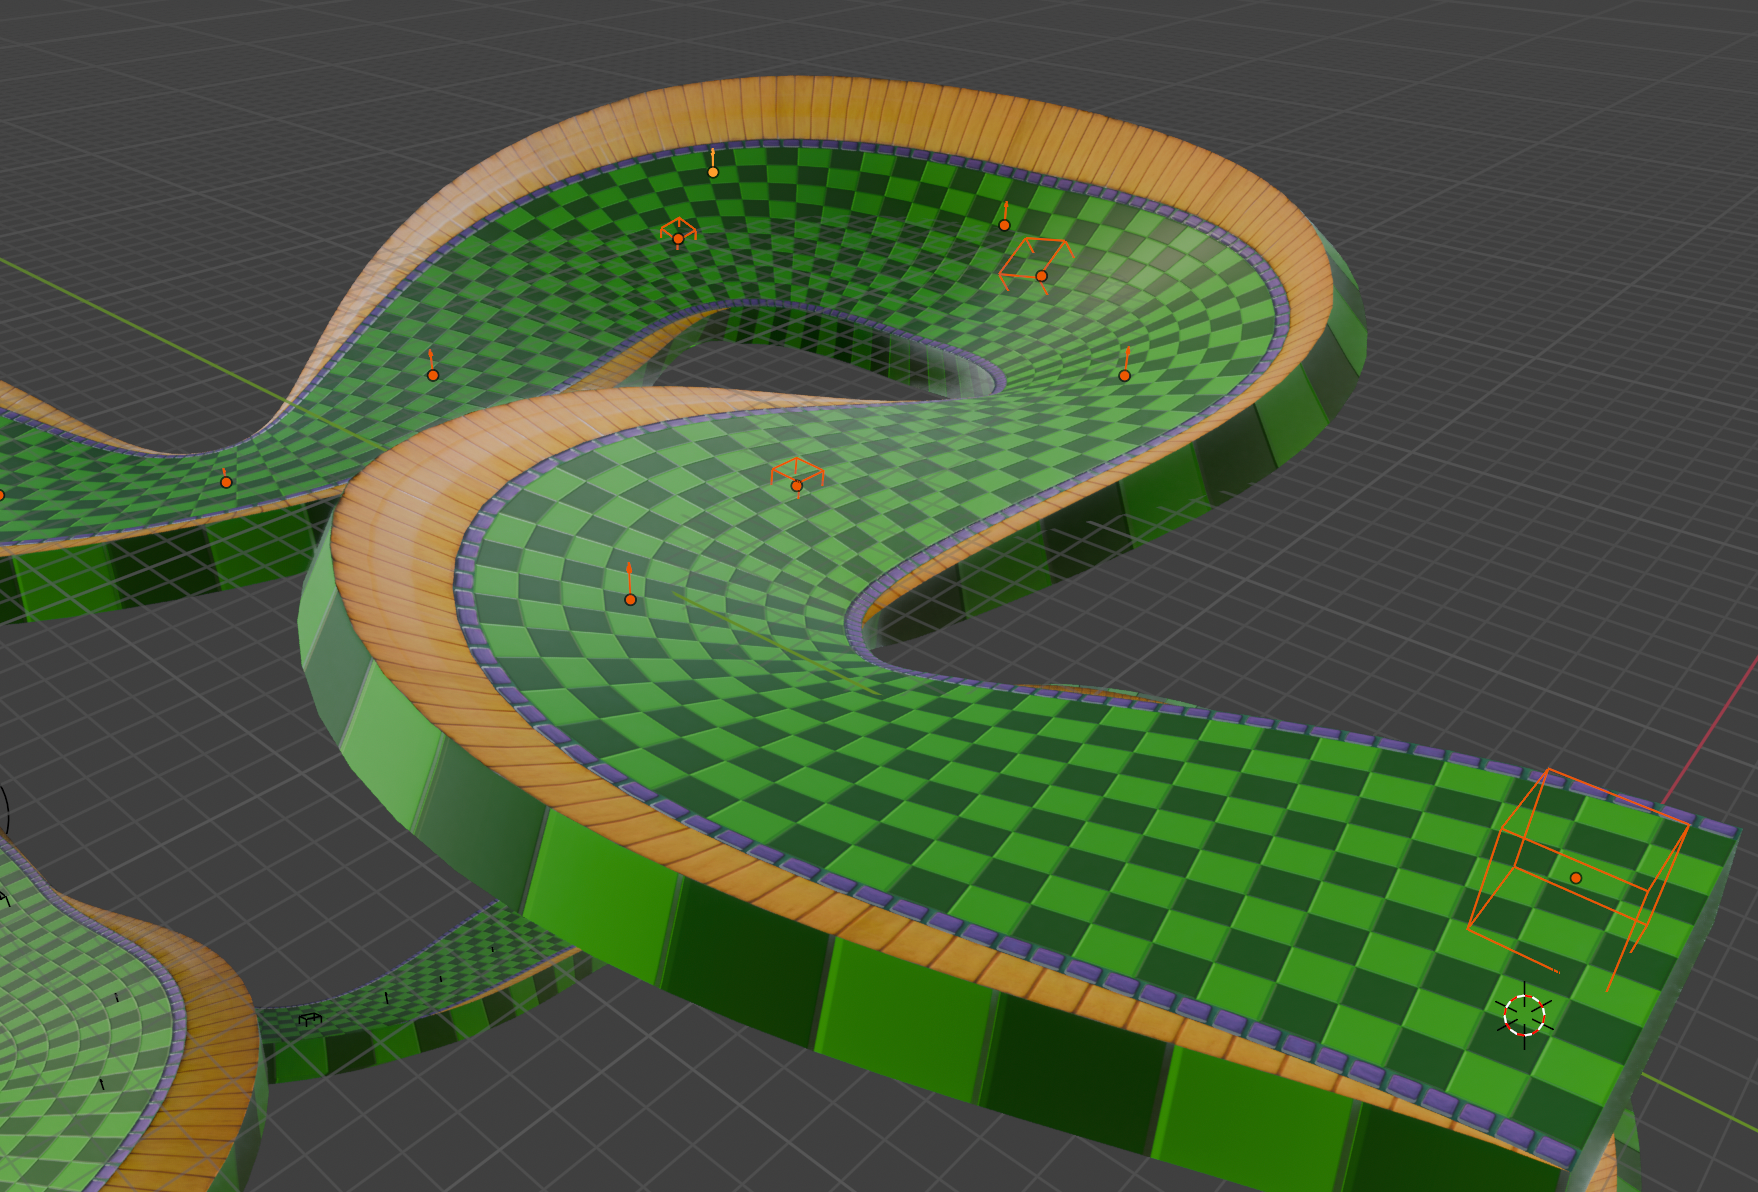
Course Design in Blender
To keep things performant and reduce the number of draw calls, we use instancing to render the bumpers and gems. Because the colliders for those items cannot be instanced, those are managed separately along side the visible geometry instances.
// Mesh Instancing Example
public AddInstance(id: string, mesh:Mesh) {
    var worldPosition = this._position.clone().add(mesh.position);
    this._itemMeshInstance = mesh.createInstance(id+"-mesh");
    this._itemMeshInstance.position = worldPosition;

    // Create Collider
    this._itemCollider = MeshBuilder.CreateSphere("collider_"+id, {
        diameter: 2,
    });
    //... Register an intersection error on an action manager

}
User Interface System

Babylon's UI tools is one of the aspects, I like least about this game engine. The api is tedious and has some functionality gaps. Styling built in components involves adding lines of code for each style changed. There's not really a way to apply global styles or create style definitions. The factory pattern can help here a bit. I've set up some utilities to create common elements like text headers.
export const CreateGUIHeader = (name: string, text: string, fontSize: number, shadow: boolean = false)  => {
    const header = new TextBlock(name, text);
    header.fontSize = fontSize;
    header.fontFamily = "Lilita One";
    header.color = "#ffffff";
    if (shadow) {
        header.shadowOffsetX = 2;
        header.shadowOffsetY = 2;
        header.shadowBlur = 2;
        header.shadowColor = "#005050";
    }

    return header;
}
Managing Fonts
Rollbound uses a font called Lilita One from Google as the primary UI font face. To simplify things and make sure the fonts are included and available in all the builds, I'm using a project called Fontsource, for self-hosted open source fonts. They have individual npm packages for a large number of open sourced fonts, including Lilita One.
Making it Responsive
As we started to adjust the game to work on mobile devices, one of the biggest hiccups was making the UI responsive. Babylon has a bit of responsiveness built in with it's idealHeight and idealWidth properties on the AdvancedDynamicTexture object. By using a bit of user agent sniffing combined with portrait/landscape detection via window size calculation, we were able to take the responsiveness a bit further and adjust those ideal size properties based on the user's environment.
The UI system for Rollbound is organised into scene based UI classes which all inherit from a base class. The base class manages the full screen texture as well as the responsive window size and orientation listeners.
This allows us even greater control as Individual UI scenes can further adjust UI components via base methods overrides. Allowing us to tune UI components fonts, placement, etc as required.
protected _UpdateElementsPortrait(isMobile: boolean) { }

protected _UpdateElementsLandscape(isMobile: boolean) { }
To keep our code clean and easier to manage, complex UI components like the game top bar, speedometer, and various modals are set up as individual classes with encapsulated behaviours.
Audio System
The audio system is another piece that has seen a few different iterations since the start of the project.

In terms of game music, originally we had a separate track for the start screen, the cut scene, and then each level got it's own track via the level configuration. This was later swapped out for a jukebox style control that lets you pick the track you want to hear while you are playing. This is all managed by a music service that is shared across all scenes.
There's a lot more to do here in terms of further sound effects, and independent controls for music and sound effect volumes.
Designing the Scoring System
Designing a scoring system was a collaborative effort between myself, Google Gemini, and our team play-testing. We have three different elements currently which could be used to affect the scoring.
- Time to complete the course
- How many collectables they picked up along the way.
- How many gates they've crossed.
Taking these three elements to Gemini I prompted it to ideate different ways of building a score. We looked at pros and cons, and did some number crunching given different weights and values.
One of the things that had come up earlier in play testing, is players short-circuiting the track. Once you figured out you could roll one way from the start you could drop almost instantly to the finish shoot. This could potentially allow a player to get a super high time score by finishing in less than 10 seconds. While it's a cool accomplishment, it wasn't in the spirit of the game. So the progress gates then became multipliers.
Here's how the scoring breaks down.

- Time to complete subtracted from a configured time to max time value for the course. That positive difference is then calculated as a percentage of the max time and multiplied by a time score value.
- Gems get a fixed number of points per gem collected.
- Gates crossed work as a multiplier. Since the number of gates per course can change, we map min and max multiplier values to the range of zero to number of gates on the course. The multiplier is then applied to the total of the time and gems score.
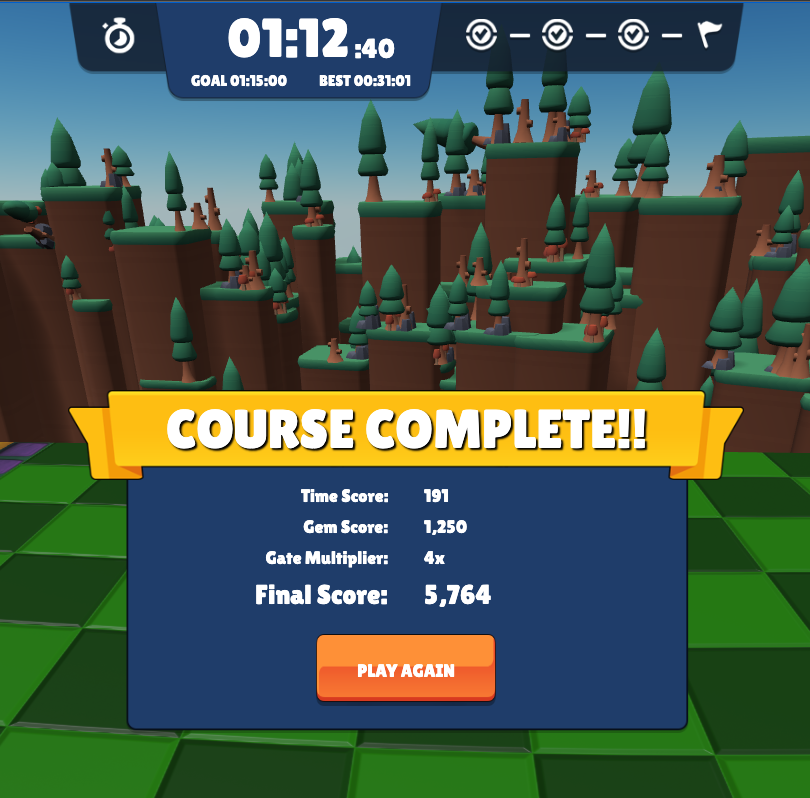
We spent a couple weeks play testing before settling on values that balance a fun play experience, while keeping the courses fair and challenging.
Level Configuration
As the mechanics of the game were coming together, I wanted to make it easy to add and iterate on levels. Since the majority of course design work is done in blender, this was actually pretty straight forward. We use a JSON file that contains all the course configuration. The start scene then shows you a list you can pick from, while the game scene uses this information to build the course out.
{
    "levels": [
        {
            "id": "lvl_dc_01",
            "isDevOnly": false,
            "name": "Demo Course 1",
            "baseTimeGoal": 75000,
            "courseMesh": "mesh/tracks/Track_Bumpers_Track.glb",
            "courseVerticalOffset": 100,
            "vistaMesh": "mesh/vistas/level_vista_kenney_assets.glb",
            "vistaVerticalOffset": -120,
            "gatesMesh": "mesh/gates/gate_w_vines.glb",
            "goalMesh": "mesh/gates/barrel_goal.glb",
            "collectables": [
                {
                    "mesh": "mesh/collectables/collectables_crystal_single.glb",
                    "points": 1,
                    "tag": "SINGLE"
                },
                {
                    "mesh": "mesh/collectables/collectables_crystal_double.glb",
                    "points": 2,
                    "tag": "PLUS"
                }
            ],
            "bumperMeshes": "mesh/obstacles/Track_Bumpers_Bumpers.glb",
            "groundWaterPlane": 2000
        }
    ]
}
Most of what is shown is pretty straight forward. It indicates things like which meshes to use, any offsets, and whether or not to have include a ground water plane.
To keep our dev courses out of the production game, we use a isDevOnly flag. Those set to true are only available when running the project locally in dev mode.

What's Next?
Work on the project has slowed down a bit as I spend some time looking a new position, but I'm committed to continued development on this game. The entire U experience will be polished and updated. I'm building a library for persisting and managing preference, game state, and more in the browser. I've even started prototyping out a multiplayer race experience.
I also hope to put out further technical devlogs for this project covering more features like integrating particle systems, mobile controls, and even the multiplayer experience. So stay tuned!