ROLLBOUND Devlog #1
ROLLBOUND is a web-based physics game where you guide your ball through complex courses, avoid obstacles, collect gems, and try to reach the goal as quickly as possible. In this first devlog I'll share a bit about our initial prototyping work, tools development, game architecture, and other insights

ROLLBOUND is a web-based physics game where you guide your ball through complex courses, avoid obstacles, collect gems, and try to reach the goal as quickly as possible. In this first devlog I'll share a bit about our initial prototyping work, tools development, game architecture, and other insights into this project.
You can play the in development game here: https://mythicaai.github.io/rollbound/.
If you do, please let me know if you have any feedback!
This project was initially conceived as a tech demo for Mythica. We wanted to build a demo that would demonstrate our hypotheses around web game development AND showcase our procedural tooling chops. While it's still meant to serve that function, due to the positive reception from inside the team and out, I’m hoping to finish and release it as a full game.
While concepting this project we had also bounced around some other ideas. For a while we had been building something in the golf/mini-golf area. We also considered taking our Unreal based first person shooter demo and converting it to a web based game. Ultimately we decided to go with our own twist on a Super Monkey Ball style game.
Unity Prototyping
One challenge of building with web game frameworks is the lack of a graphical user interface (GUI) tools. So, in order to prototype how the controls and camera would work and feel, I started in Unity. I spent a day prototyping out a simple clone of the Monkey Ball style gameplay.
To Lean, or Not to Lean
One feature from the original Unity prototype didn't make it into the Babylon.js build: the tilting track illusion. In games like Super Monkey Ball, this effect suggests you're tilting the course to guide the ball. We felt it didn't add much to our gameplay, so we left it out.
Moving to Babylon.js
Project Setup
I went with a tried and true setup for the build tools: Vite.js + Typescript. Vite makes getting a project like this up and going very quickly. And while the benefits of Typescript are many (dependability, maintainability, reduction in errors), in this case it has the added bonus of making exploring the Babylon.js API much more efficient.
Physics are Important
For the physics engine, I decided to go with the Havok physics engine via the HavokPlugin for Babylon.js. The plugin gives Babylon.js access to the Havok WebAssembly build for highly performant physics. Since our game is primarily a physics based game, I felt like this was a great choice.

Game Architecture: A Class-Based Approach
For the overall game architecture, I went with a object oriented approach, using JavaScript classes. While many of the examples you might see for Babylon.js are single script programs, when building a full game, that would quickly become unwieldy. I wanted, from the start, to keep this project as clean and well architected as it could be. At least for a prototype. This initial decision has really paid off as the project has progressed, making it very easy to add features and do minor refactors.
If you peek into the Babylon.js code base, you'll find it takes the same approach. Using OOP principles like encapsulation, interfaces, and inheritance to keep the library organised and manageable.
I set up the project to run on either WebGPU or WebGL, using an environment config flag. This will allow us to leverage WebGPU in the future if needed.
Additionally, the project is scene based, driven by a top level state machine. We started with just the start scene and the game scene. It has now evolved into a multi-scene project and the architecture design is continuing to work well.
Player Controls & Camera
The controls and camera system are closely linked. I took the essentially the same approach from the Unity prototype, minus the side to side tilt feature, and implemented it into the Babylon.js project.
The player is a simple physics sphere body with a set mass and 0 restitution value (bouncy balls don't play as nicely). When the player controls the ball via the WASD or arrow keys, it applies an impulse force to the ball relative to the camera's position to the ball. Forward always being in the direction the camera is pointed. The force is scaled per frame delta time as well as fixed values depending on if the ball is grounded or not.
The Camera works like a gimbal and follows the ball at a fixed distance. It rotates around the ball on the world up vector to always follow the ball's angular velocity.
The tilt movement is a little more involved. Originally the tilt of the camera gimbal was at a fixed angle. This is fine if your course is relatively flat, but when you start adding steep up and down surfaces, it starts to not work very well. It feels bad as a player when you can't see where you're going, and even worse when the camera clips through the track geometry.
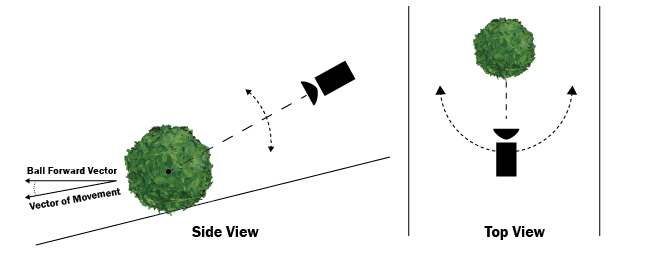
To make this feel nicer I construct a vector by subtracting the previous position from the current position each frame. I then find the angle between this vector and the balls forward vector. This is then mapped to a min/max tilt range to which the camera adjusts itself to.
Blender Tools for Level Building
As we started to build out tools to help us design levels, Mythica technical artist, Max Spurlock created a couple of blender tools to speed us up. The first is our track tool.
Track Design Tool
Our course design workflow is centered largely around Blender and this tool is foundational for that purpose. The track tool is a geometry node based tool, where you use a curve and vertex weights to design the track geometry. By adjusting the curve point, you describe the overall shape of the track. Then through various named weights on the curve's vertices you can adjust features like the curb, the surface arc (concavity/convexity) and the the tilt of the track at that position.
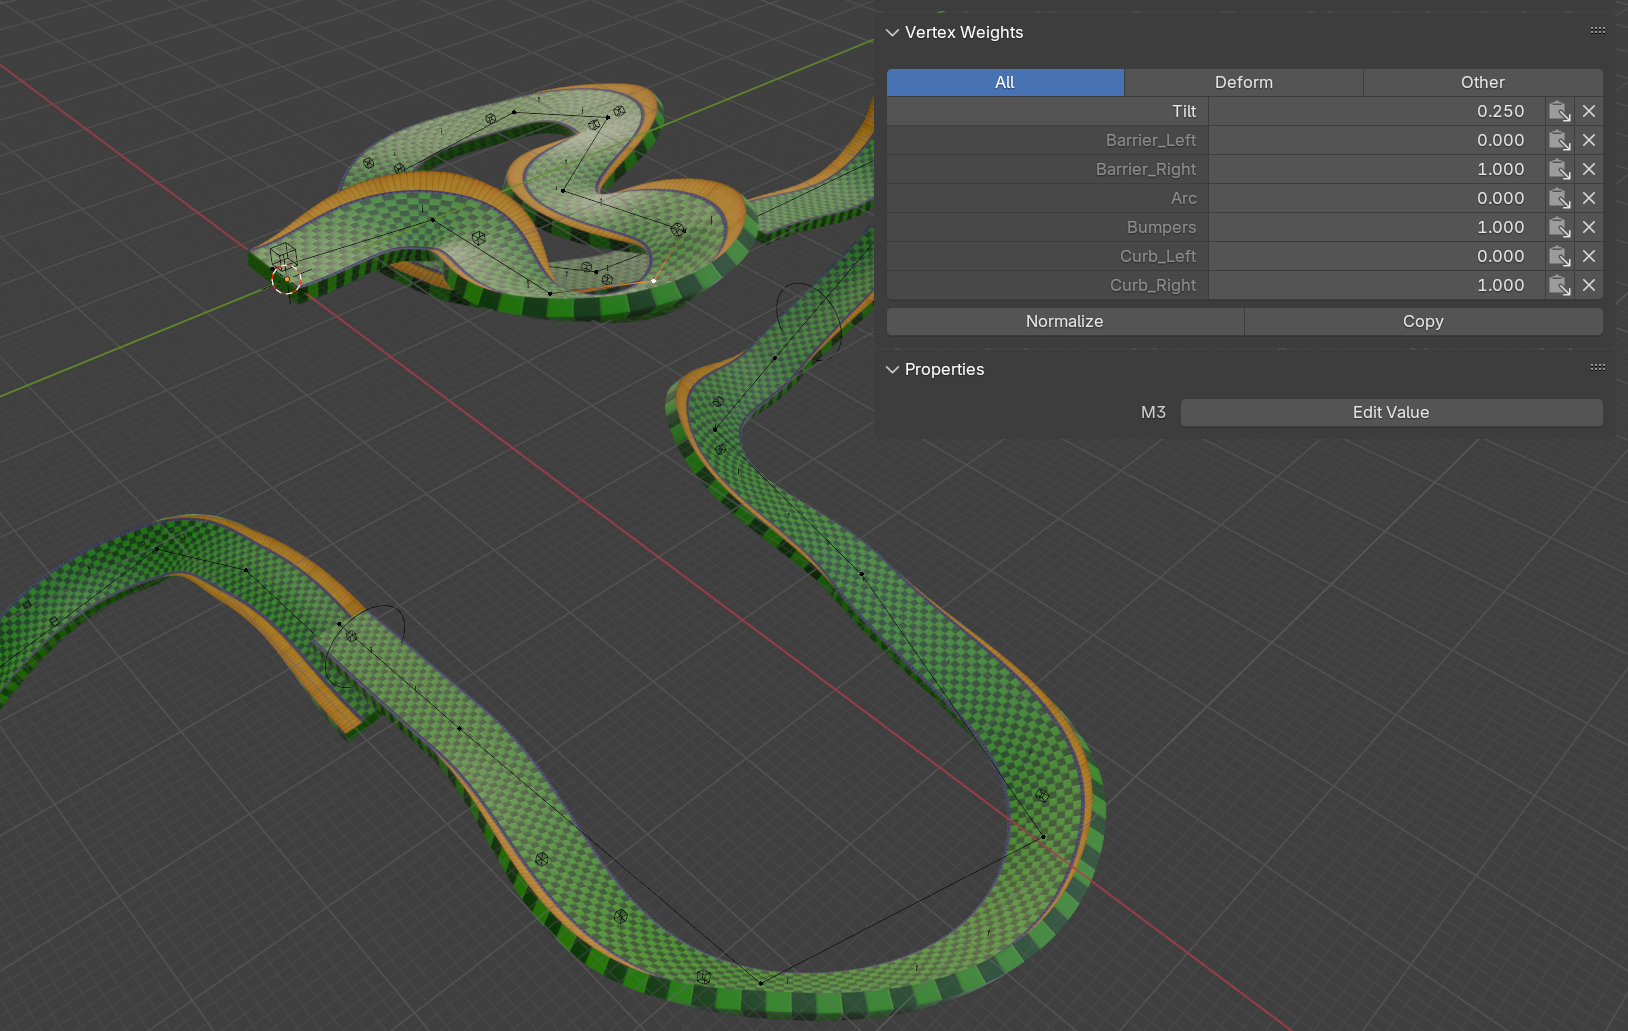
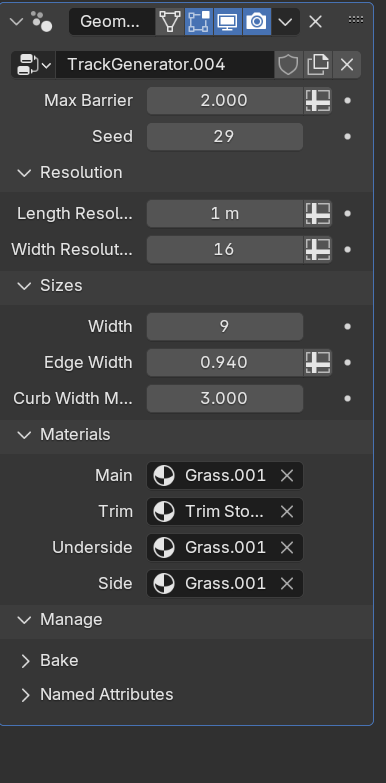
Track Designer Tool in Blender
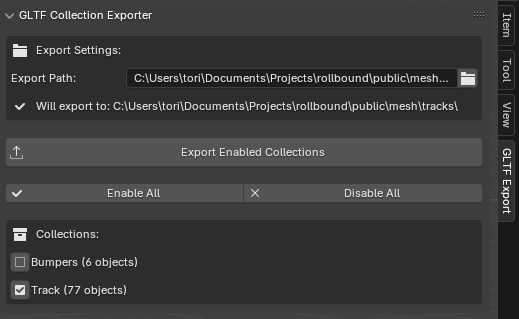
GLTF/GLB Exporter
The Babylon.js game engine supports a variety of different file formats for geometry. We decided that the GLTF/GLB format would work best for us because of its ability to contain not only geometry and materials but also empty transform points.
To make the process of blender to GLB a bit more efficient, Max put together a Blender plugin which allows you to quickly export separate collections in your .blend file to individual .glb files. You can download this Blender plugin here.
Project Artwork
For the initial prototype of the game level, we created some additional elements to give a sense of a world around the track itself.
The Vista
No, not Microsoft Vista, this isn't 2007 anymore. Our concept of what a vista is in our game has certainly evolved since this early point in the Rollbound's development cycle. The original concept was world geometry that surrounds the course, which the player wouldn't interact with. It was meant only to decorate the scene and help give a sense of scale. These days it includes all non-track geometry, including optional colliders.
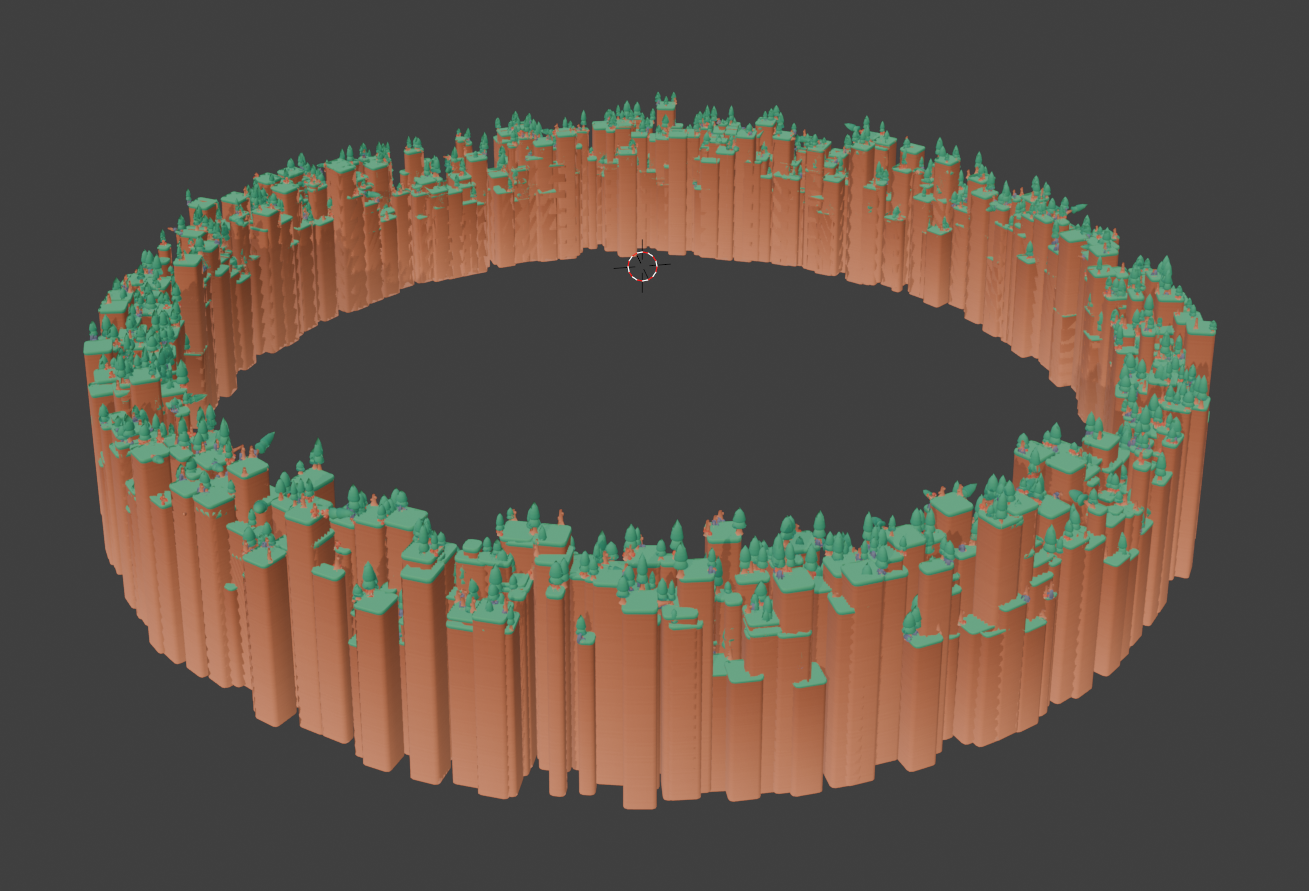
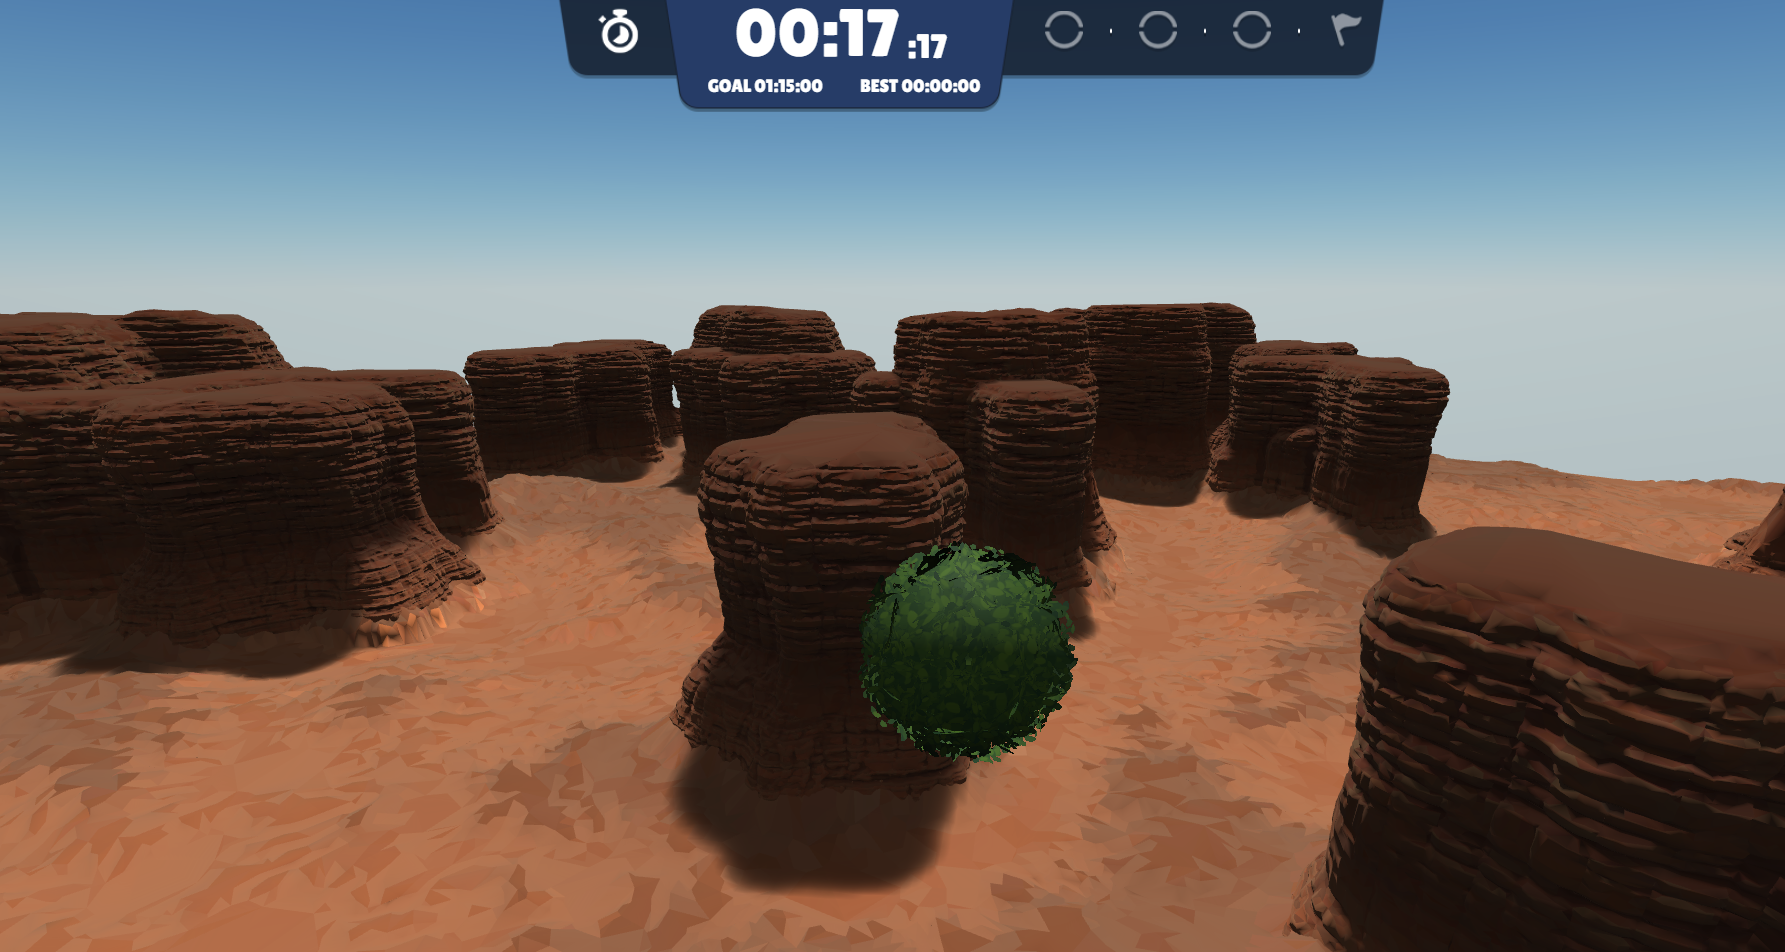
Prototype Vista Artwork
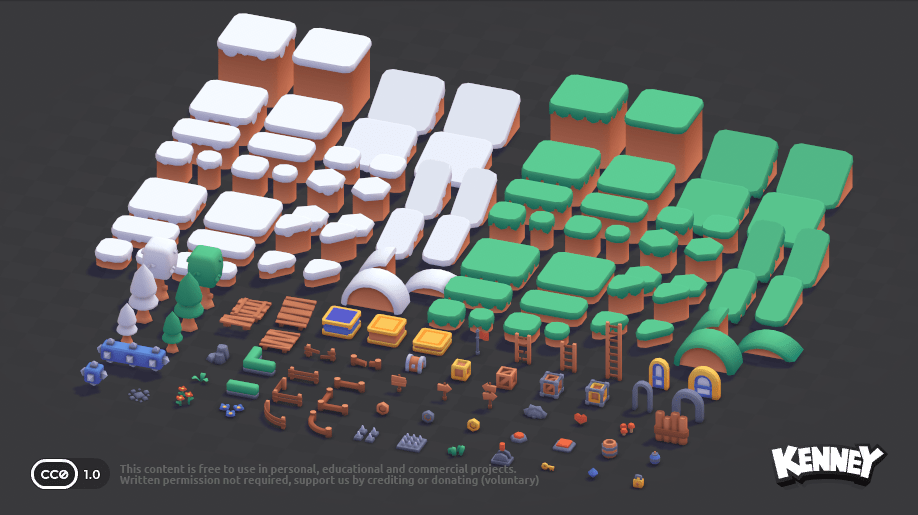
For the initial prototype vista, I combined some free 3D game assets from Kenney using Blender's geometry nodes. It's a bit clunky and could certainly use some polish and things like proper instancing for the trees and scatter, but it got the job done for the prototype. This was also meant as a stress test for Babylon.js to see how many verts and faces we could add before performance dropped. It performed surprisingly well.
A plane with the built in Babylon.js Water shader was then added as a floor to complete the space.
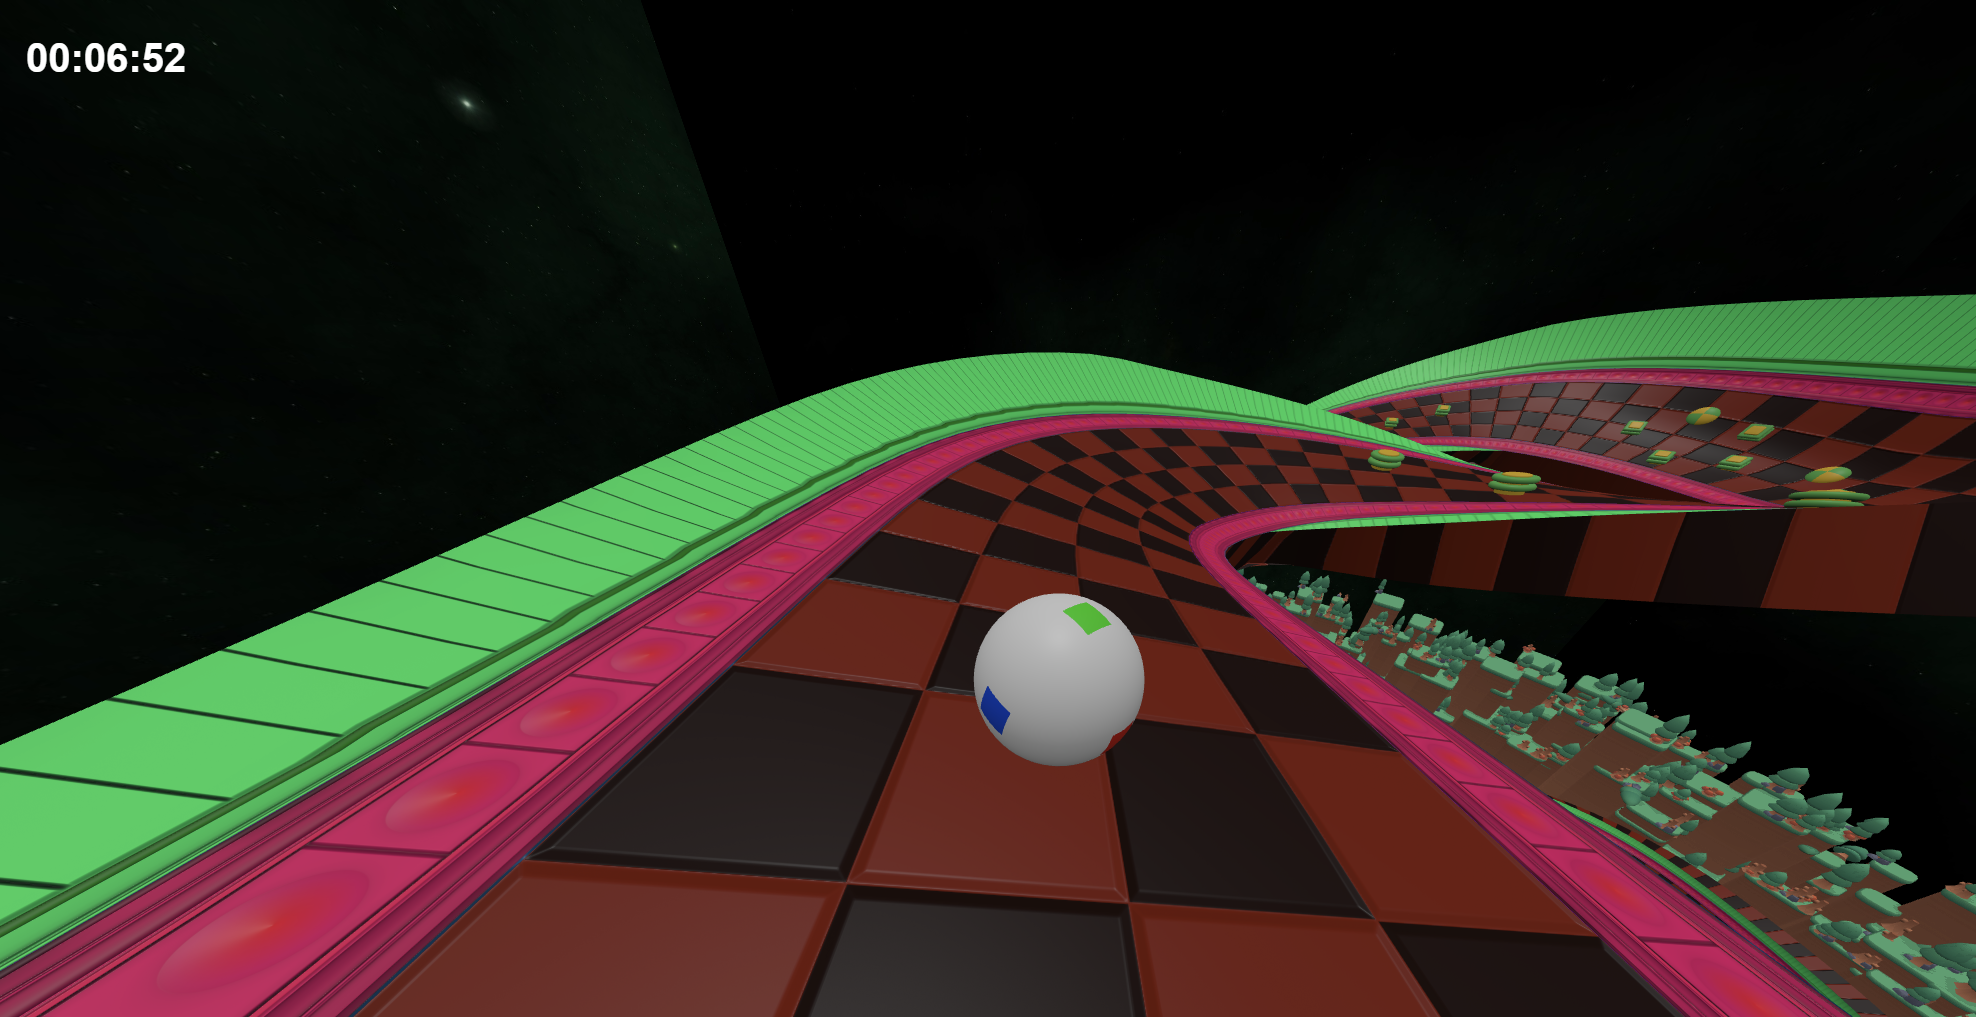
Track Materials
For the track materials, Mythica lead lighting artist, Igor Titov, created these incredible Sonic inspired textures in Substance Designer.

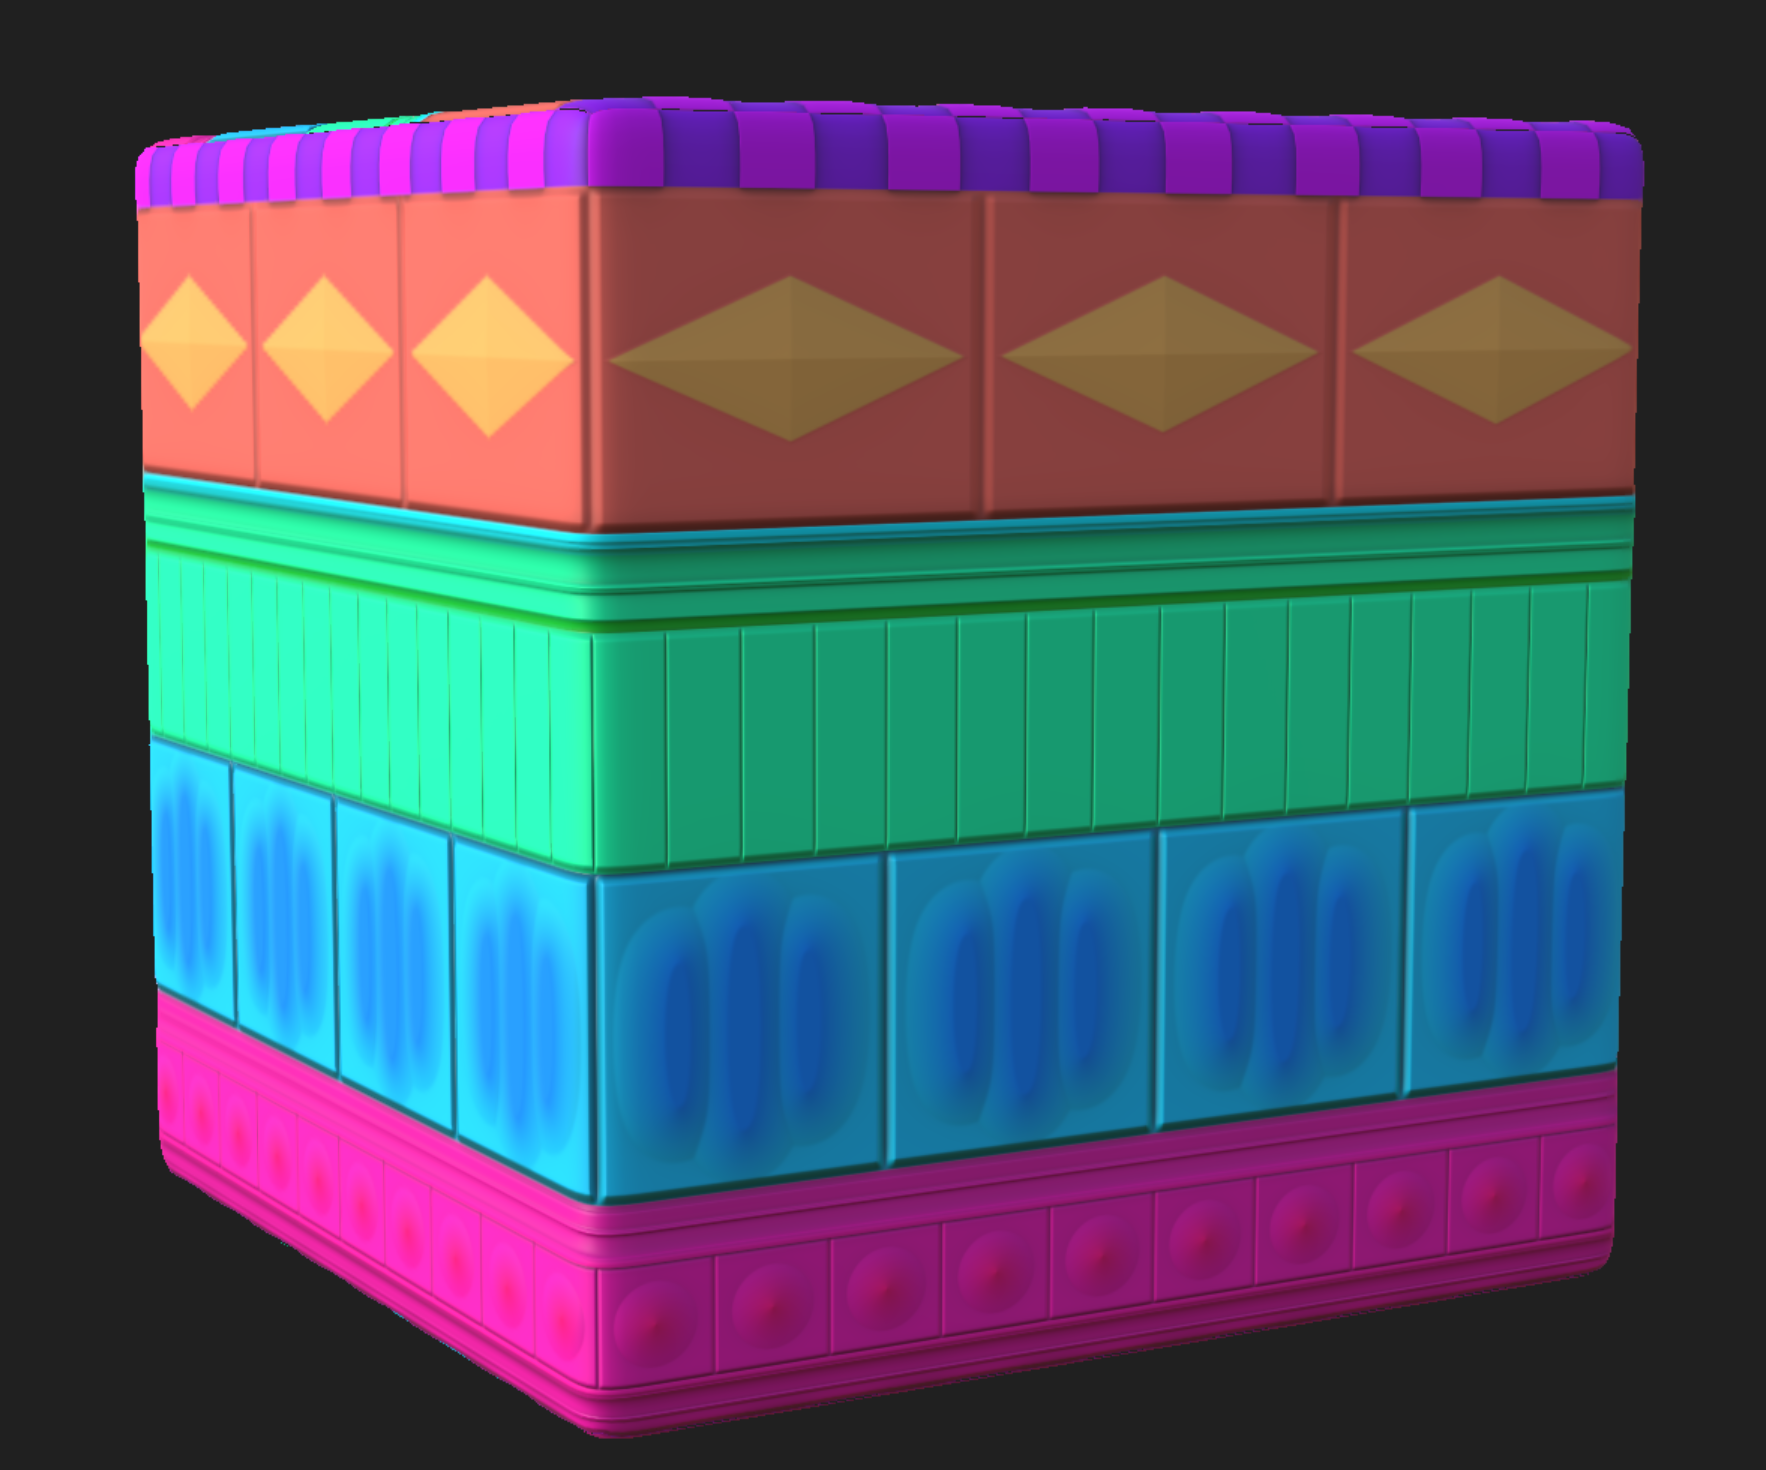
Track Materials
The Skybox
My original approach for the level sky was to use the built in Babylon.js createDefaultSkybox method. This simply results in a large cube with a cube map texture. Not only did it drag the frame rate down (loading six different texture images greatly increased the scene load time), but it also looked pretty terrible with visible corners using certain textures.
Cube Map vs Sky Sphere
Eventually this was swapped out for a large sphere shape with the built in SkyMaterial. This material gives you a sky texture with horizon and allows you to configure things like sun position, luminance, inclination and more. It looks much better and had a drastically lowered impact on the game performance compared to the cube map approach.
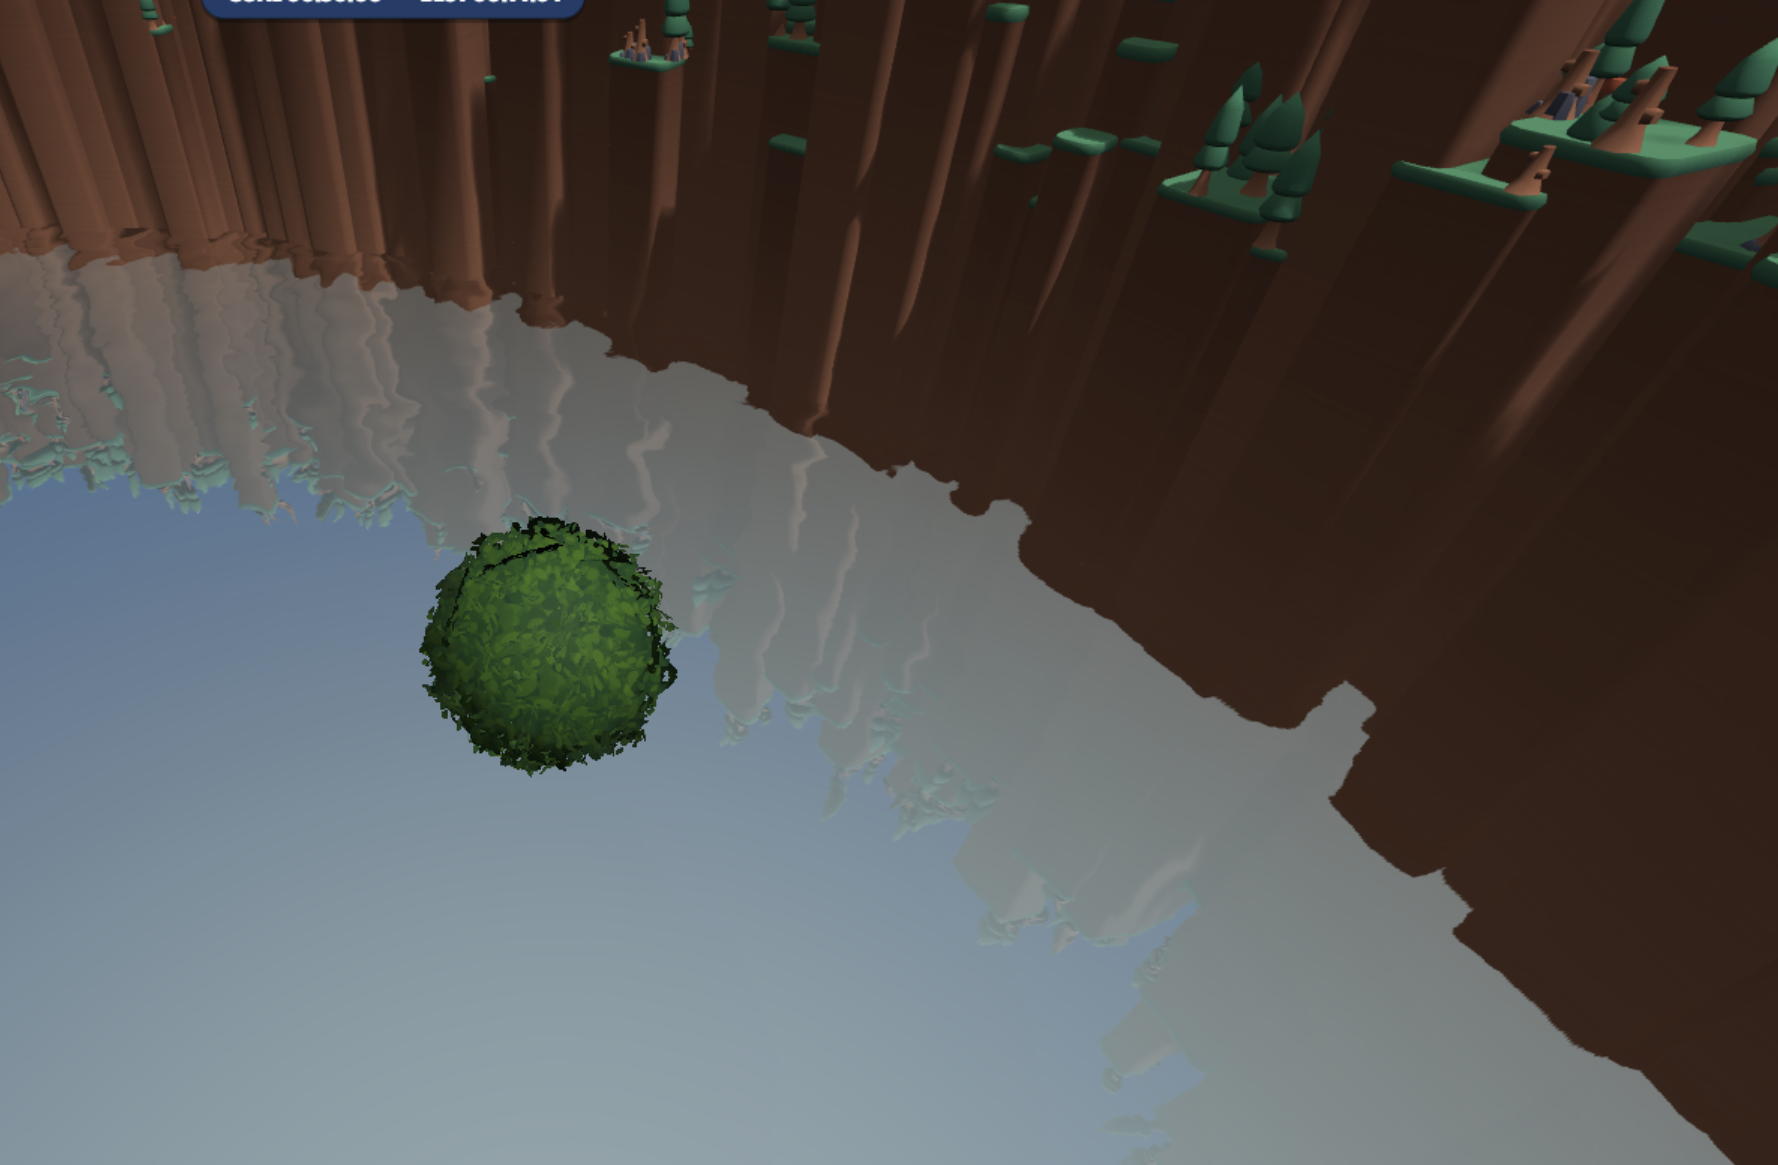
The Main Character
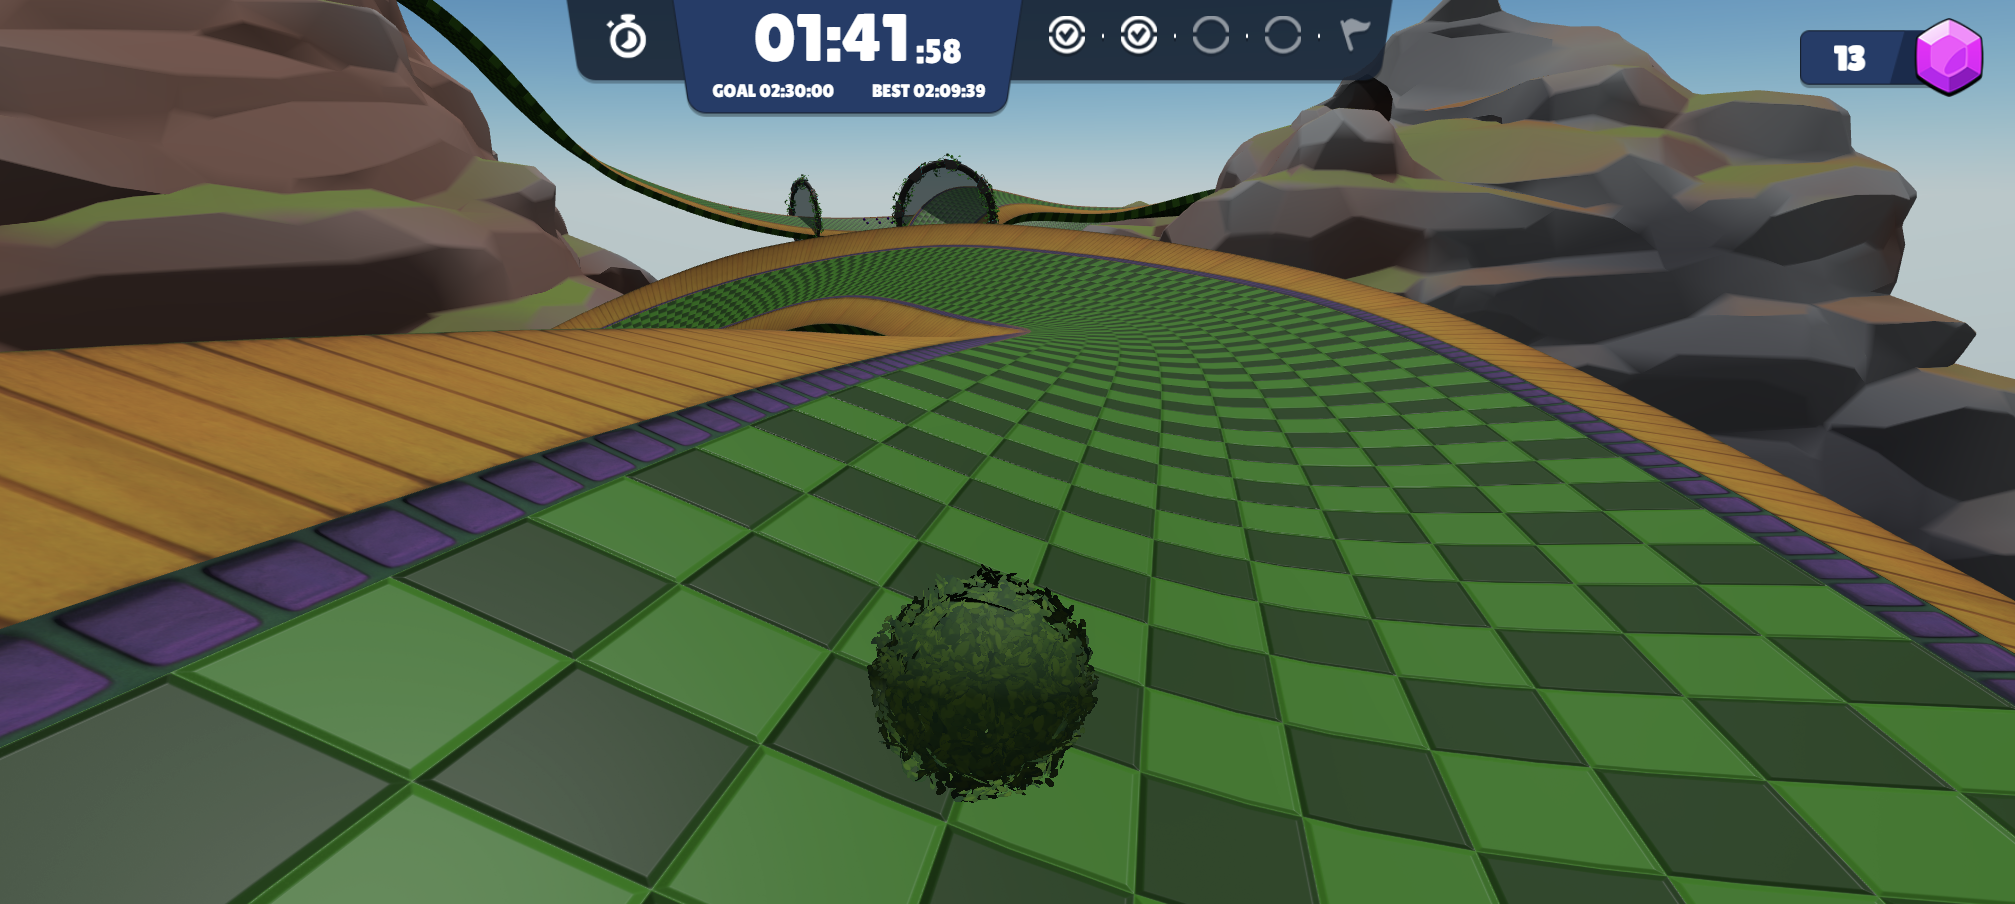
What's a game without a main character? In this case our humble ball is the player character that quite literally is pushed around the level. We've gone through a few designs for the ball, while repeated falling into fits of giggles when someone used the phrases "ball skins". When considering the look of the ball, the most important thing is that the player is able to read the rotation of the ball in order to judge its speed and direction.

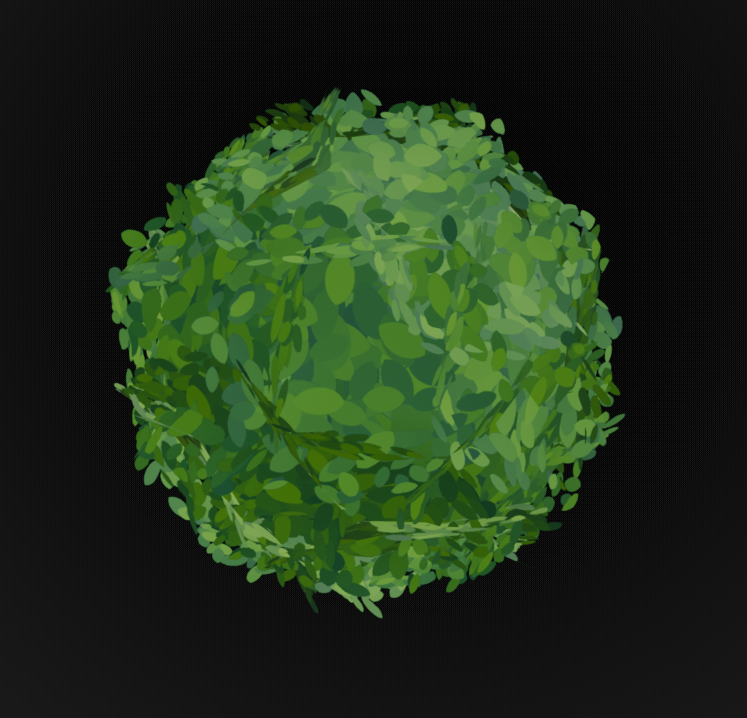
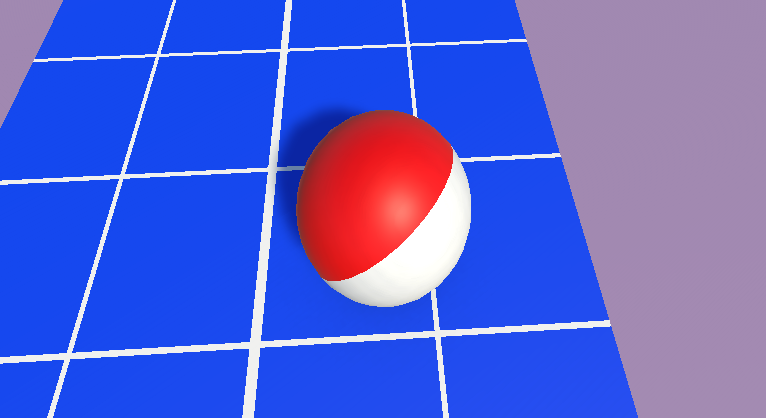
We started in the Unity prototype with a shader-based red/white hemisphere ball. Later after moving to Babylon.js, Max put together a snooker ball inspired skin. And finally Max also created the current skin, ball covered with mossy leaves.
What's Next?
Development continues on this project, and I've got a lot more to share.
In Rollbound devlog #2, I'll cover further aspects of the project, including the UI and Audio systems as well as user preferences and data. Adding progress gates, a goal, and the scoring system. The level configuration setup and more.
In Rollbound devlog #3 I plan to talk about particle effects, mobile controls and a look at the multiplayer experience.
Don't want to miss out? Subscribe to my blog below for email updates when new articles are posted.